jQuery Enable/Disable Example
The aim of this example is to show you how to enable/disable the html elements by using jQuery. In some cases, we need to enable or disable a HTML element. This will help us to allow/prevent the user from doing some actions.
jQuery provides very simple code to enable/disable any HTML element. The following code is used respectively for this purpose.
.prop('disabled', false);
.prop('disabled', true);
Let’s look at some examples. To download the jQuery library, click here.
1. HTML
First of all you need to create a simple html document.
jQueryEnableDisableExample.html
<!DOCTYPE html>
<html>
<head>
	<title>jQuery Enable/Disable Example</title>
	<script src="jquery-2.1.4.min.js"></script>
</head>
<body>

</body>
</html>
2. jQuery Enable/Disable Examples
2.1 Enable/Disable Submit Button
Let’s add the following simple html code.
First Name: <input type="text" id="firstName"/><br/>
<input  type="submit" id="submitButton" value="submit"/>
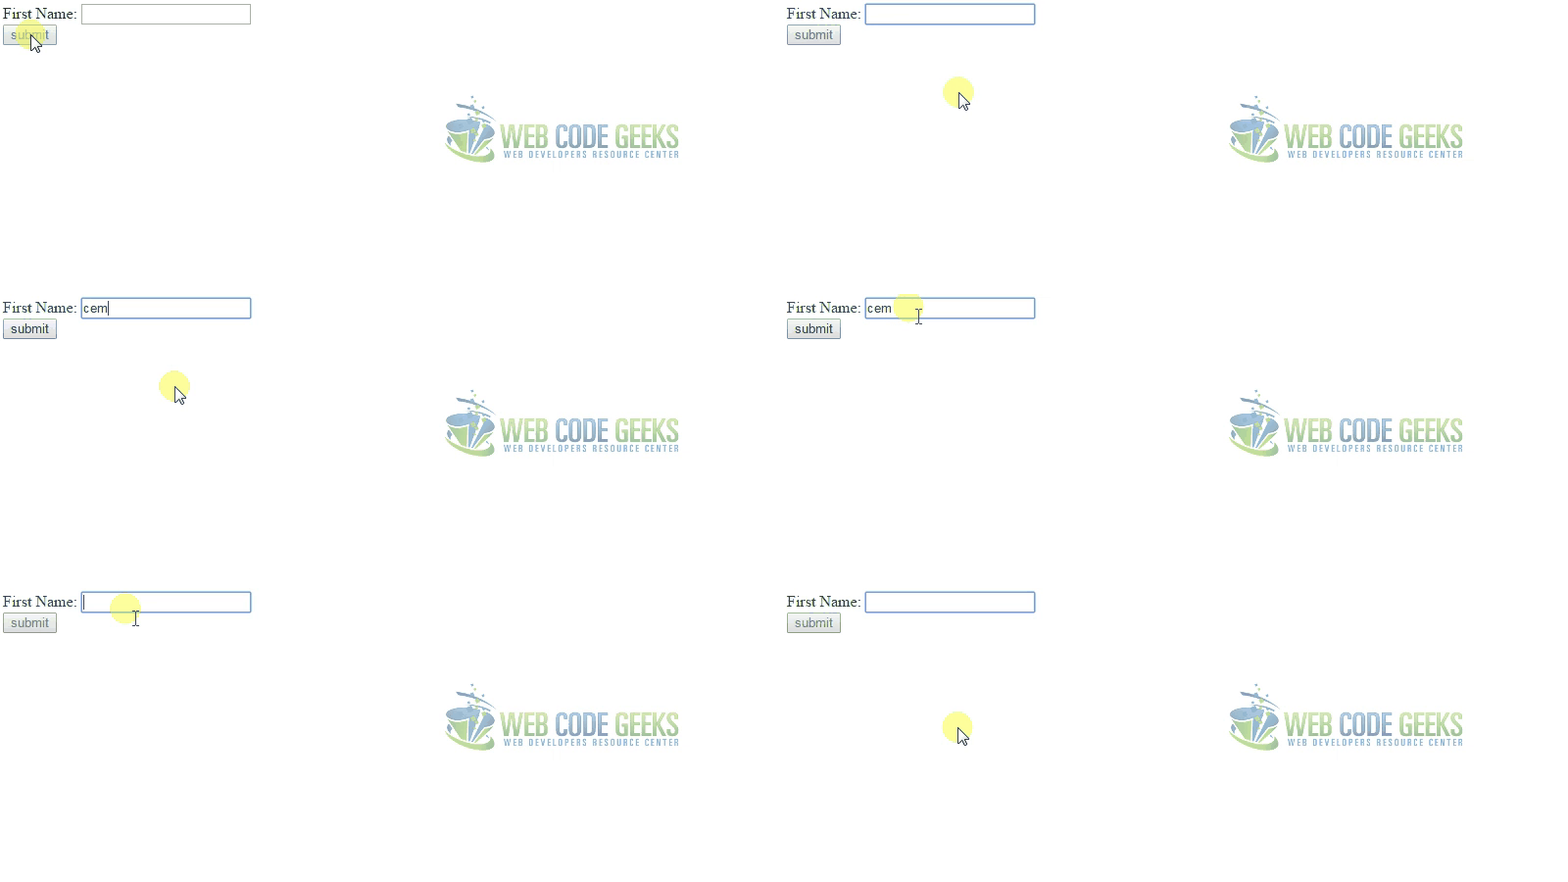
As you can notice in the following javascript code, Setting disabled property to true will disable the HTML element.In the other side, Setting it to false will enable the HTML element.
<script type="text/javascript">
$(document).ready(function() {
	 $('input[type="submit"]').prop('disabled', true);

	 $( "#firstName" ).keyup(function() {
			if(this.value!=''){
				$('input[type="submit"]').prop('disabled', false);
			}else{
				$('input[type="submit"]').prop('disabled', true);
			}
	 })
});
</script>
The result in the browser would be:

2.2 Enable/Disable Form Input Fields
Let’s add the following simple html code.
First Name:<br/><input type="text" id="firstName"/><br/><br/>
Last Name:<br/><input type="text" id="lastName" /><br/><br/>
Age:<br/><input type="text" id="age" /><br/><br/>
<input  type="submit" id="submitButton" value="submit"/>
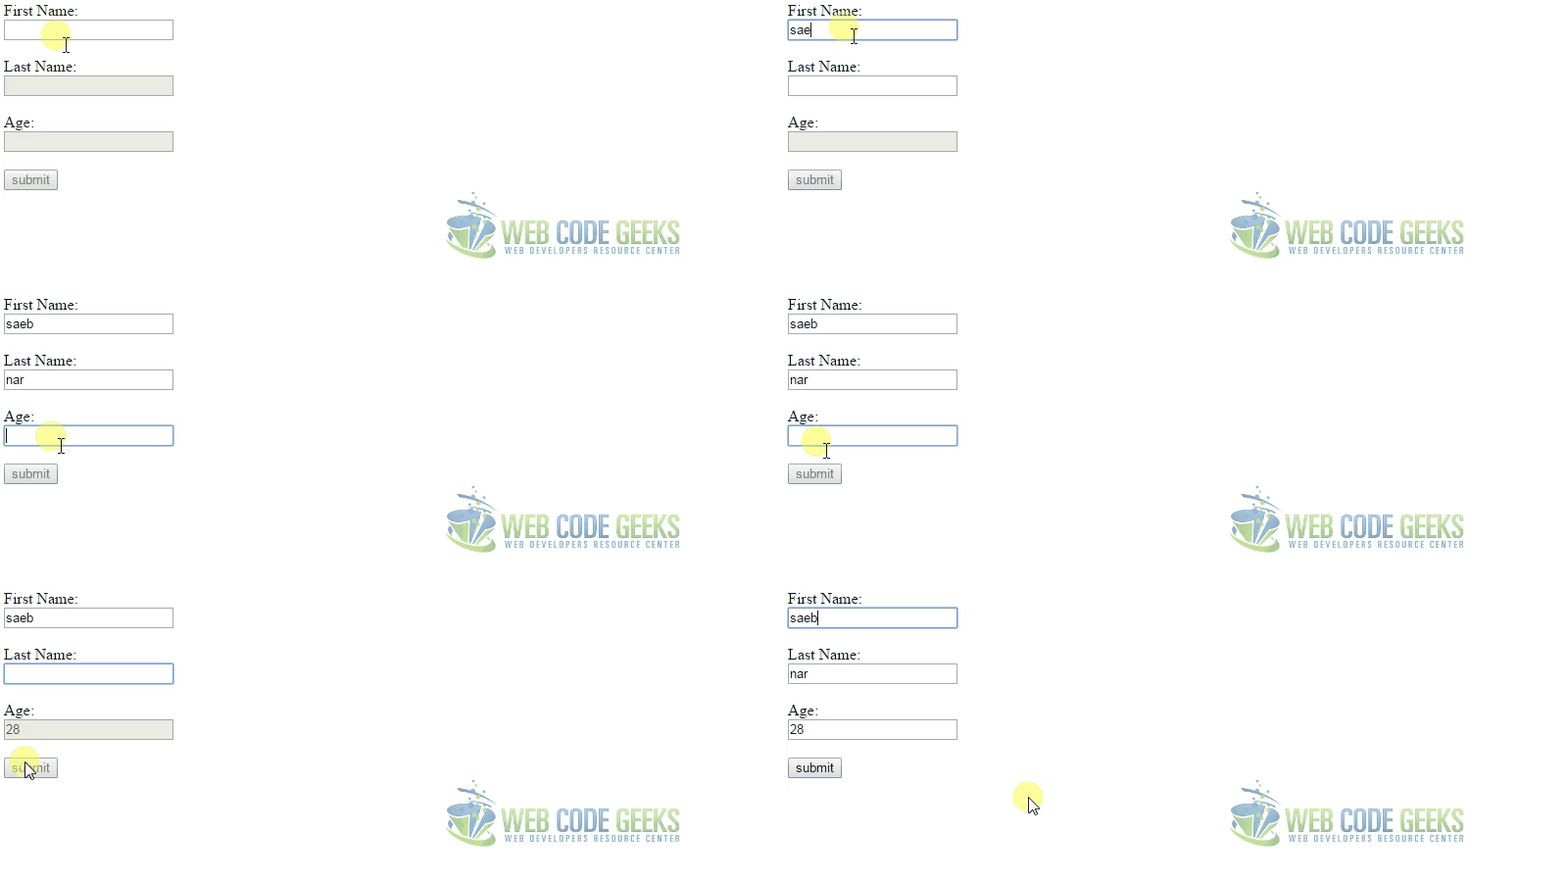
The following simple code is used for enabling/disabling the html elements.
<script type="text/javascript">
$(document).ready(function() {
     $('input[type="submit"]').prop('disabled', true);
     $('#lastName').prop('disabled', true);
     $('#age').prop('disabled', true);

     $( "#firstName,#lastName,#age" ).keyup(function() {
			var firstName = $( "#firstName" ).val();
			var lastName = $( "#lastName" ).val();
			var age = $( "#age" ).val();

			if(firstName!=''){
				$('#lastName').prop('disabled', false);
			}else{
				$('#lastName').prop('disabled', true);
			}

			if(firstName!='' && lastName!=''){
				$('#age').prop('disabled', false);
			}else{
				$('#age').prop('disabled', true);
			}

			if(firstName!='' && lastName!='' && age!=''){
				$('input[type="submit"]').prop('disabled', false);
			}else{
				$('input[type="submit"]').prop('disabled', true);
			}
	 })
});
</script>
The result in the browser would be:

2.3 Toggling Enabled/Disabled on an element
Let’s add the following simple html code.
First Name: <input type="text" id="firstName" disabled="disabled" /><br/><br/>
<a href="javascript:return 0;" onclick="toggleEnableDisable()">Enable/Disable</a>
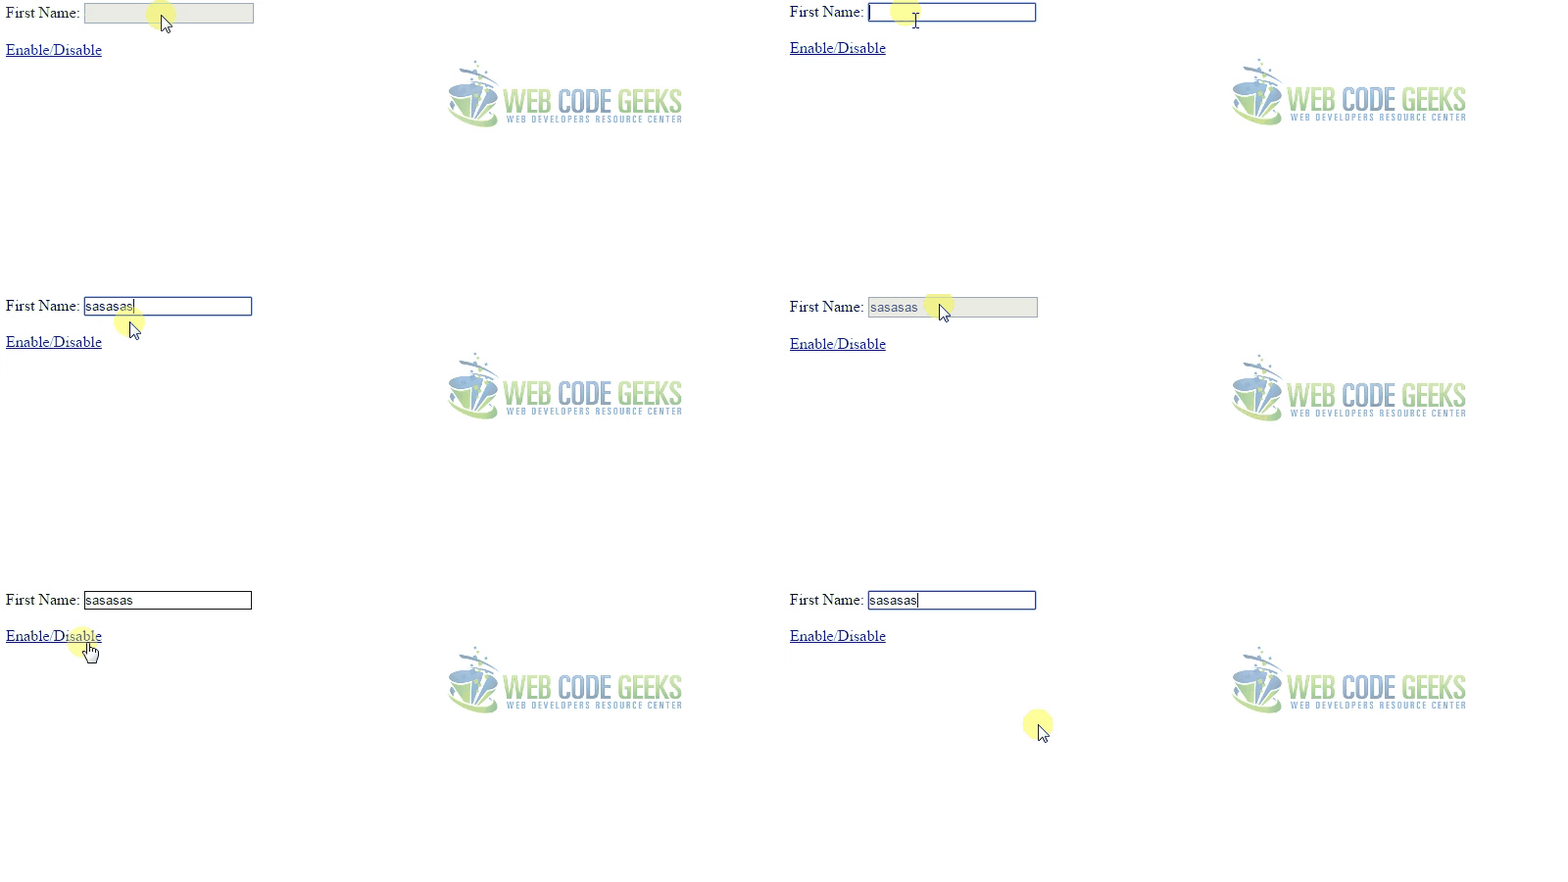
To check if an element is enabled or disabled, we can use .is(':disabled') jQuery method. This method returns true if the element is disabled otherwise returns false.
<script type="text/javascript">
function toggleEnableDisable() {
     if($('#firstName').is(':disabled')){
		$('#firstName').css("border","1px solid #0e0e0e");
		$('#firstName').prop("disabled",false);
	 }else if($('#firstName').is(':enabled')){
		$('#firstName').css("border","");
		$('#firstName').prop("disabled",true);
	 }
}
</script>
The result in the browser would be:

3. Conclusion
jQuery provides very easy way to enable/disable any HTML element. By using a single line code like .prop('disabled', status);, the HTML elements can be enabled or disabled according to the second parameter. If the second parameter of this method is true, the element will be disabled otherwise it will be enabled.
4. Download
This was an example about jQuery Enable/Disable.
You can download the full source code of this example here: jQuery Enable/Disable Example


