An Introduction to the Docker Trusted Registry
Many of us start our Docker journey pulling images from the Docker Hub with the time-honored docker pull command.
Lots of these images are “official” and have passed through Docker’s series of best practice and security checks. But the Docker Hub is also full of unofficial images that are unreliable in reliability and security.
Enterprises often require more control over their assets and workflow, preferring a repository they control and supervise. For Docker images, enter the Docker Trusted Registry (DTR). Designed for Enterprise, the Registry is a part of Docker’s paid tier, but you can sign up for a trial first
The first step is to upgrade your account, and thankfully no payment is required during the trial.
Next you need to setup your hardware. DTR is available for:
- CentOS 7.1/7.2
- RHEL 7.0/7.1
- Ubuntu 14.04
- SUSE Linux Enterprise 12
For this example, I will use Ubuntu 14.04.
Add the keys, sources, and packages needed to install the commercially supported Docker Engine (CS Engine), a prerequisite for installing DTR.
wget -qO- 'https://pgp.mit.edu/pks/lookup?op=get&search=0xee6d536cf7dc86e2d7d56f59a178ac6c6238f52e' | sudo apt-key add --import
sudo apt-get update && sudo apt-get install apt-transport-https
sudo apt-get install -y linux-image-extra-virtual
echo "deb https://packages.docker.com/1.10/apt/repo ubuntu-trusty main" | sudo tee /etc/apt/sources.list.d/docker.list
sudo apt-get update && sudo apt-get install docker-engine
Next install the registry:
sudo bash -c "$(sudo docker run docker/trusted-registry install)"
Visit the IP address of your server. You may get an “unsafe site” warning. This is expected and you can feel safe to continue as normal.
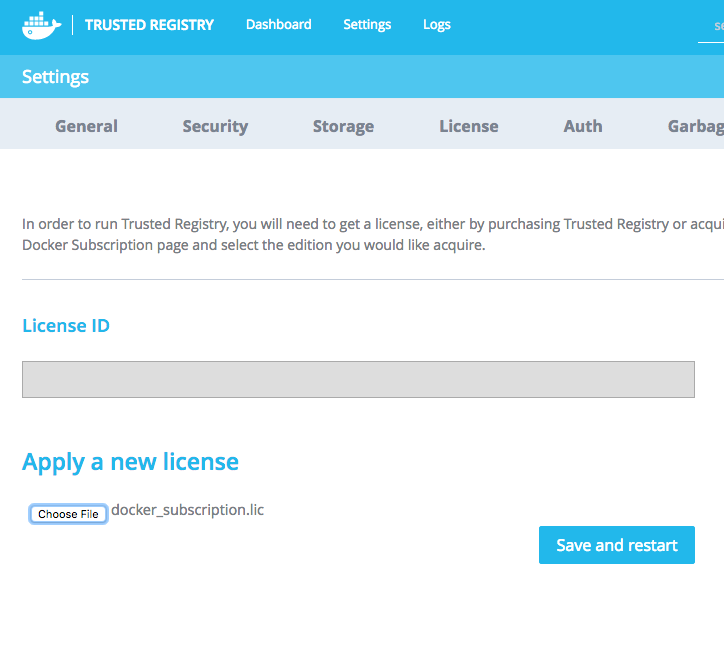
Download your license file and add it to the settings section.
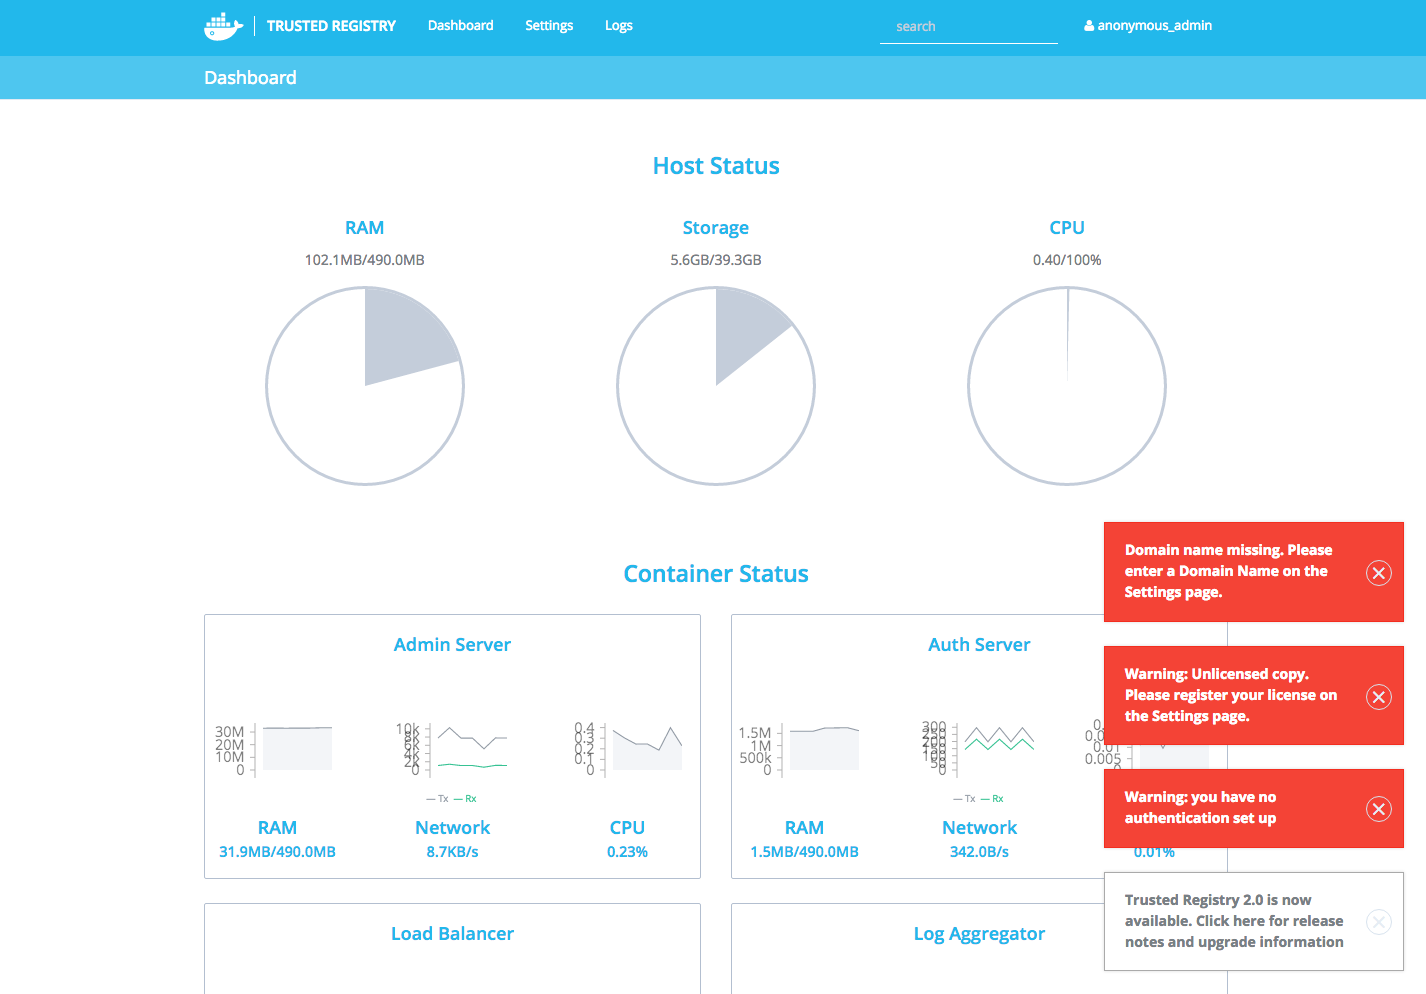
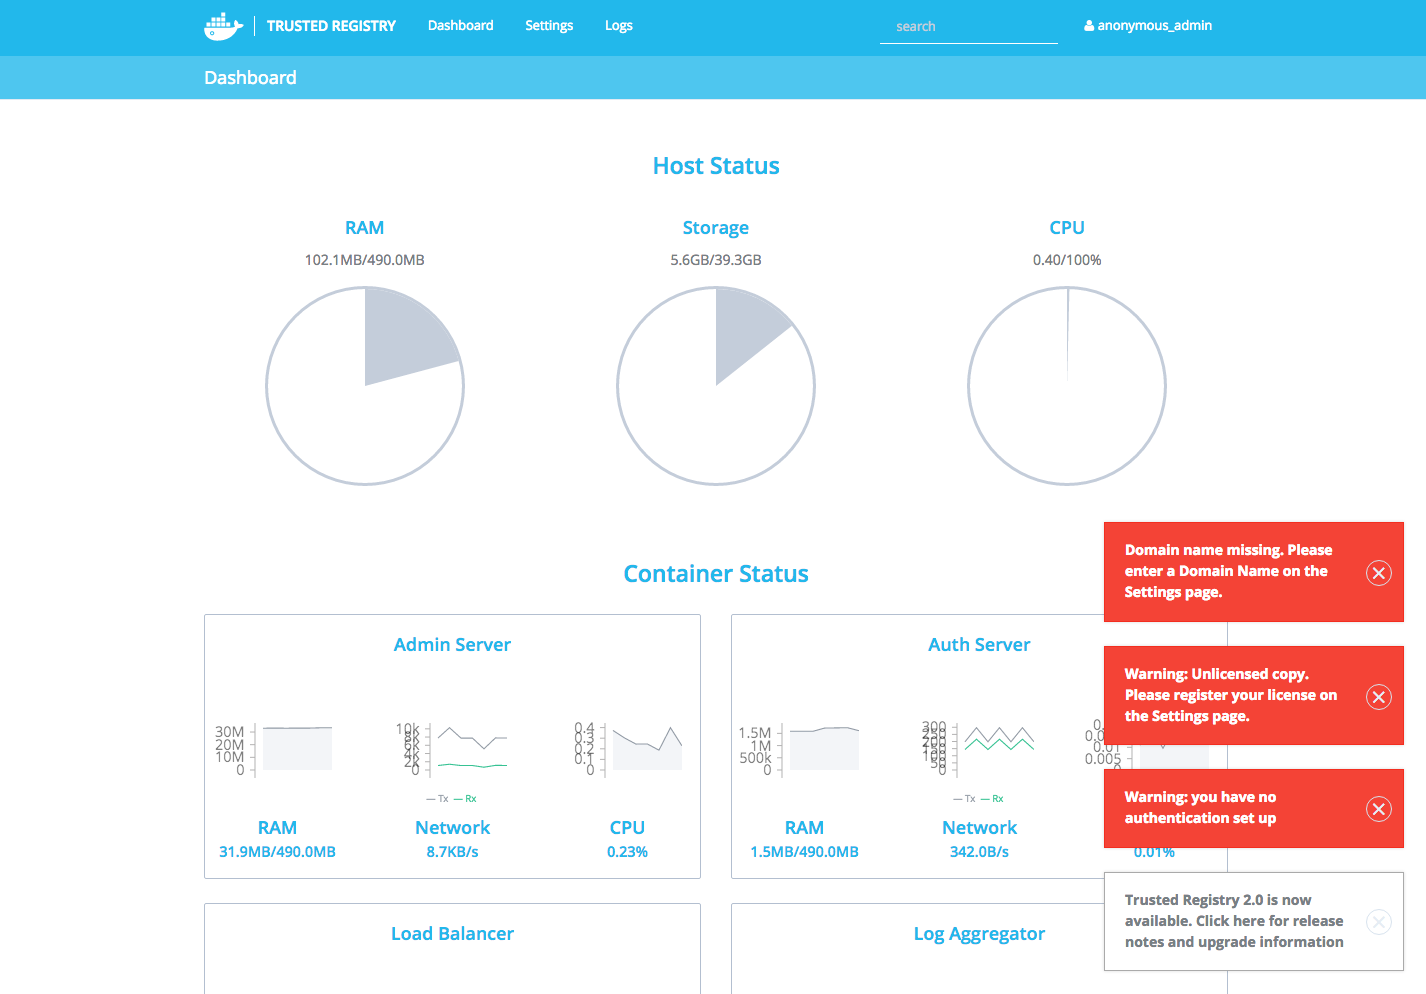
DTR will warn you of any other settings that need your attention with red dialogue boxes. The first step is to create some user accounts or use an LDAP server for authentication in the Settings -> Auth section of the dashboard. Of course there are far more configuration options — read further details here.
!New Call-to-action
Submitting an Image
With DTR installed, it’s time to host a custom image on it. I will create a simple example to illustrate the process: a custom Ubuntu image for a development business.
Pull the ubuntu image to your DTR host.
docker pull ubuntu
Create a working directory and, inside it, a Dockerfile:
mkdir build && cd build && touch Dockerfile
Next create a placeholder docs folder and Readme.md file. Don’t add anything to them; they are purely for example.
In your favorite editor, add the following to the Dockerfile:
FROM ubuntu:14.04

COPY docs /docs
RUN apt-get update
RUN apt-get install -y php5   php5-mcrypt
For this fictional example, you are creating an Ubuntu image for a company that specializes in PHP development; in other words, you’re setting up the image with all the tools needed for developers to get straight to work.
Some of the official DTR documentation is a bit vague on what the steps to push a repository are and in which order they should happen. You may also receive a variety of authentication errors. The following steps are what worked for me, but depending on your setup, you may find the steps different.
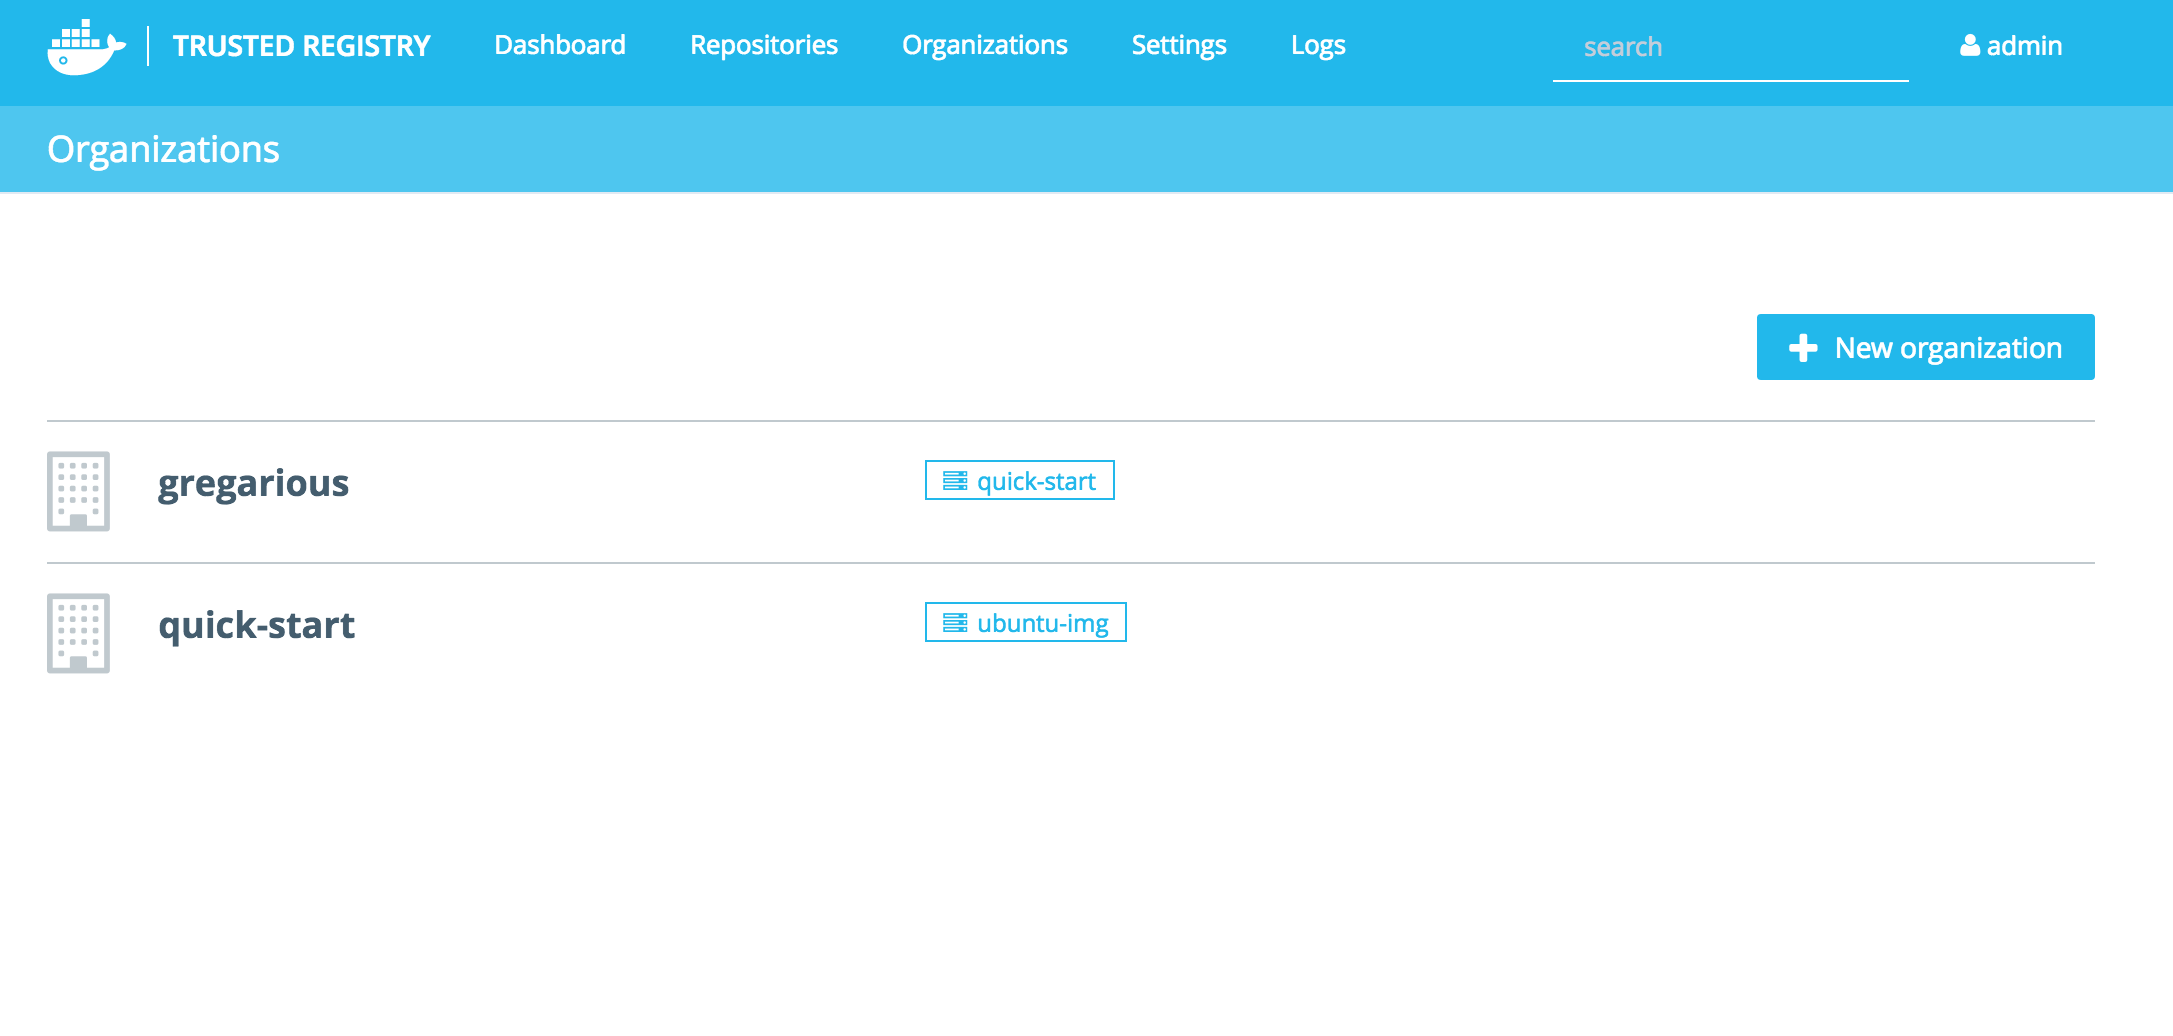
In the admin interface, create a user (Settings -> Authentication) or Organization (Dashboard -> Organizations). For this example, “quick-start” and create a repository to match the image name — in this example, “ubuntu-img.”
Returning to the build directory, run the Docker build command to build your custom image:
docker build -t SERVER_IP/quick-start/ubuntu-img .
quick-start is the name of the User/Organization you want to add the image to. ubuntu-img is the image/repository (these two words are interchangeable on DTR) name.
Run the docker images command to list the Docker images available, and you will now see your custom image listed. Push the newly built image from your local Docker daemon to the trusted repository with the docker push command.
docker push SERVER_IP/quick-start/ubuntu-img
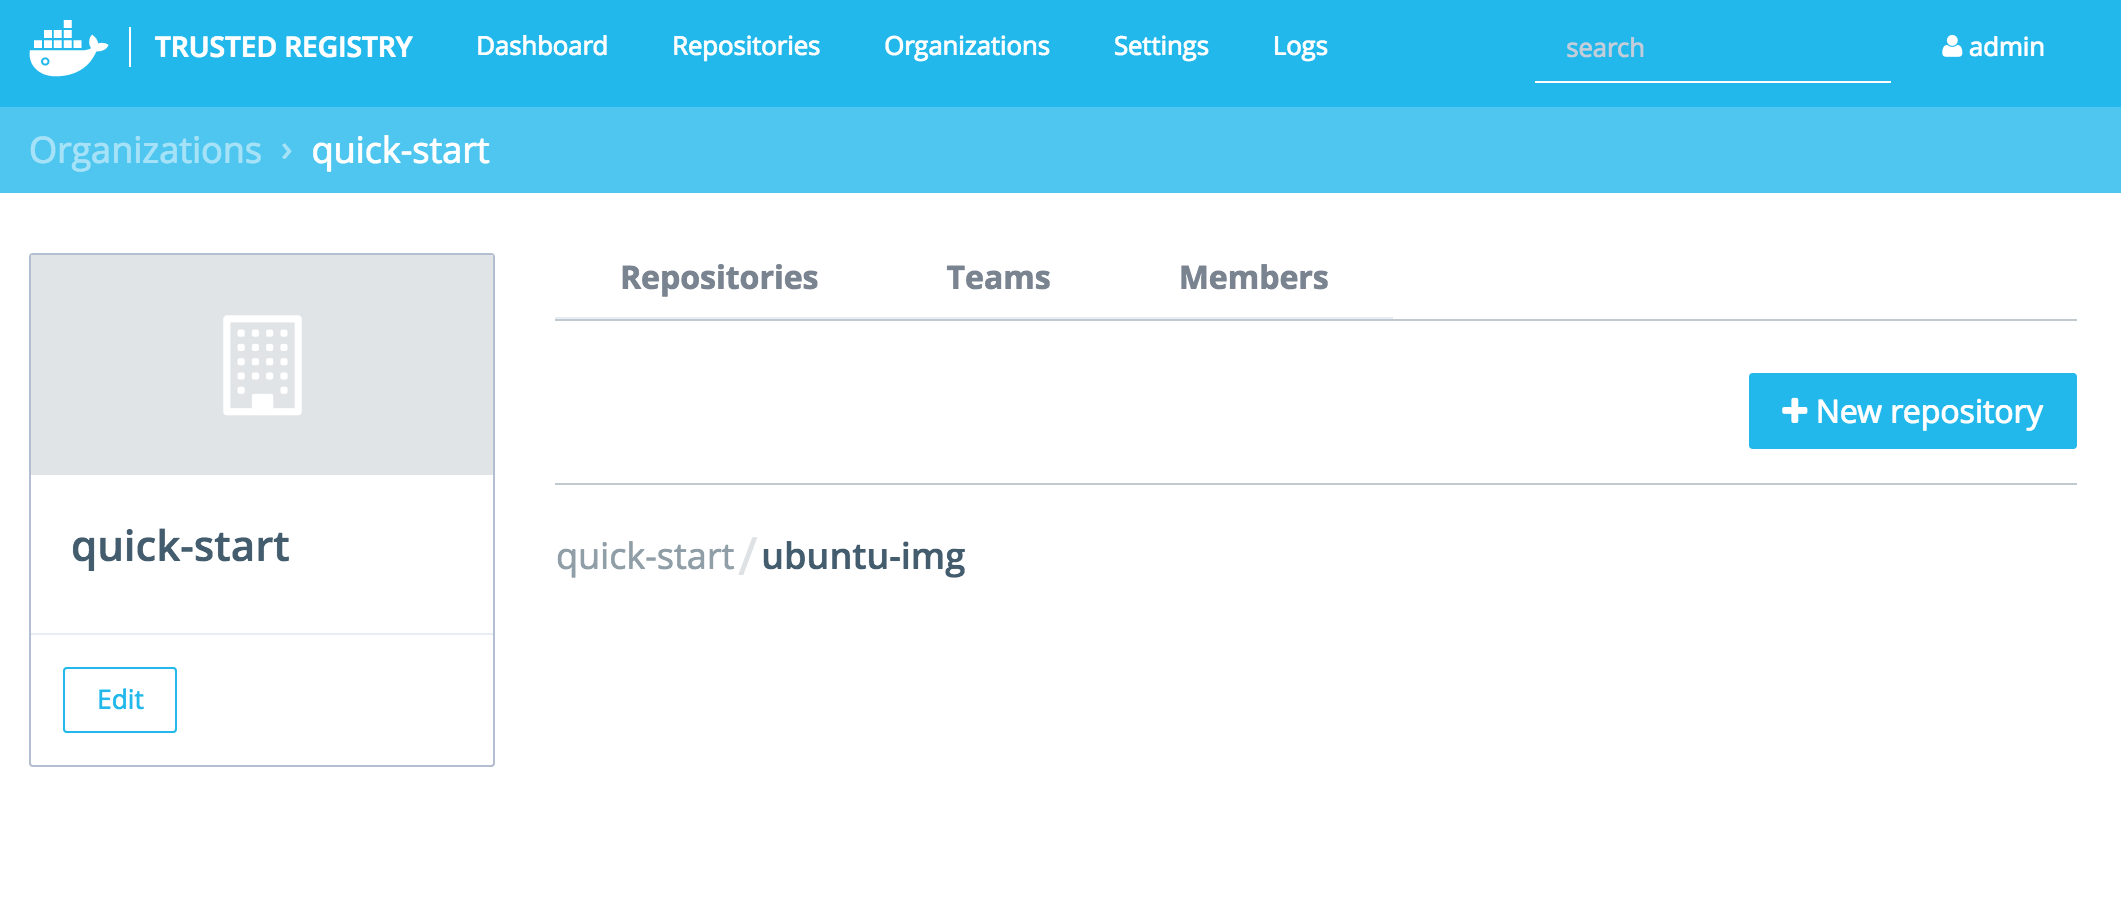
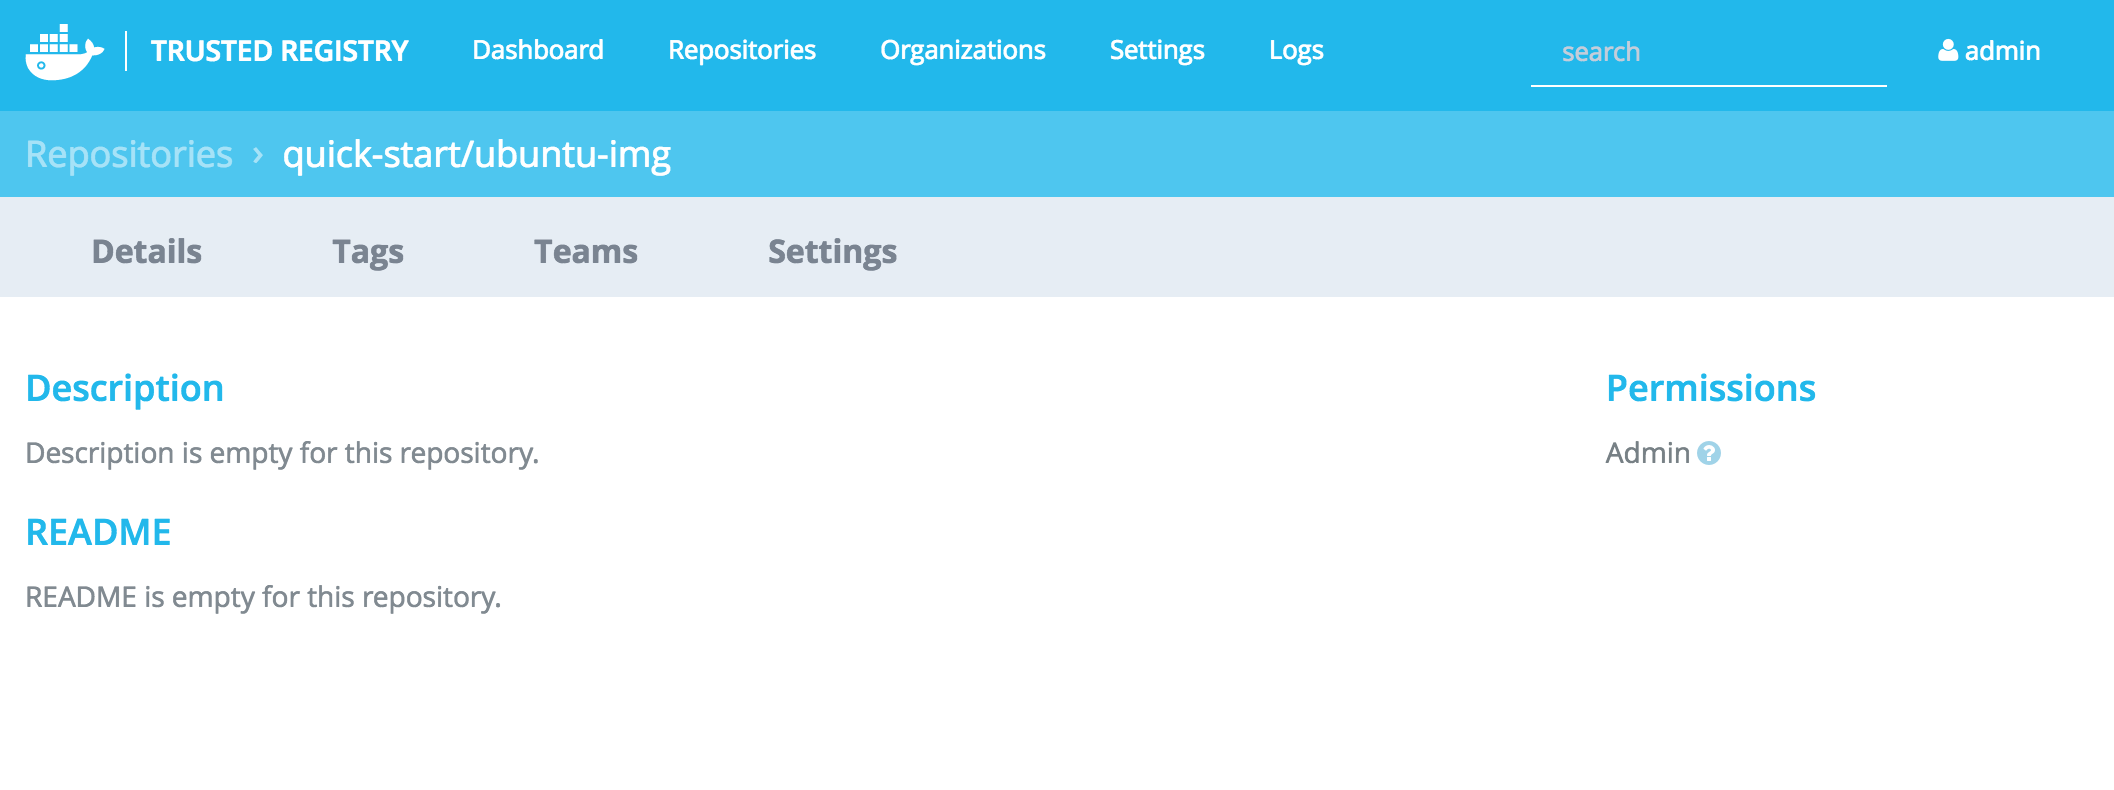
Now your image shows listed in the DTR GUI with any details and documentation added:
From here on, you are in familiar Docker territory. However, instead of using the Docker hub, you use your own trusted repository. So to pull an image to a Docker daemon with access to your DTR:
sudo docker pull SERVER_IP/quick-start/ubuntu-img
And to create an instance of a container:
docker run --name myubuntu SERVER_IP/quick-start/ubuntu-img
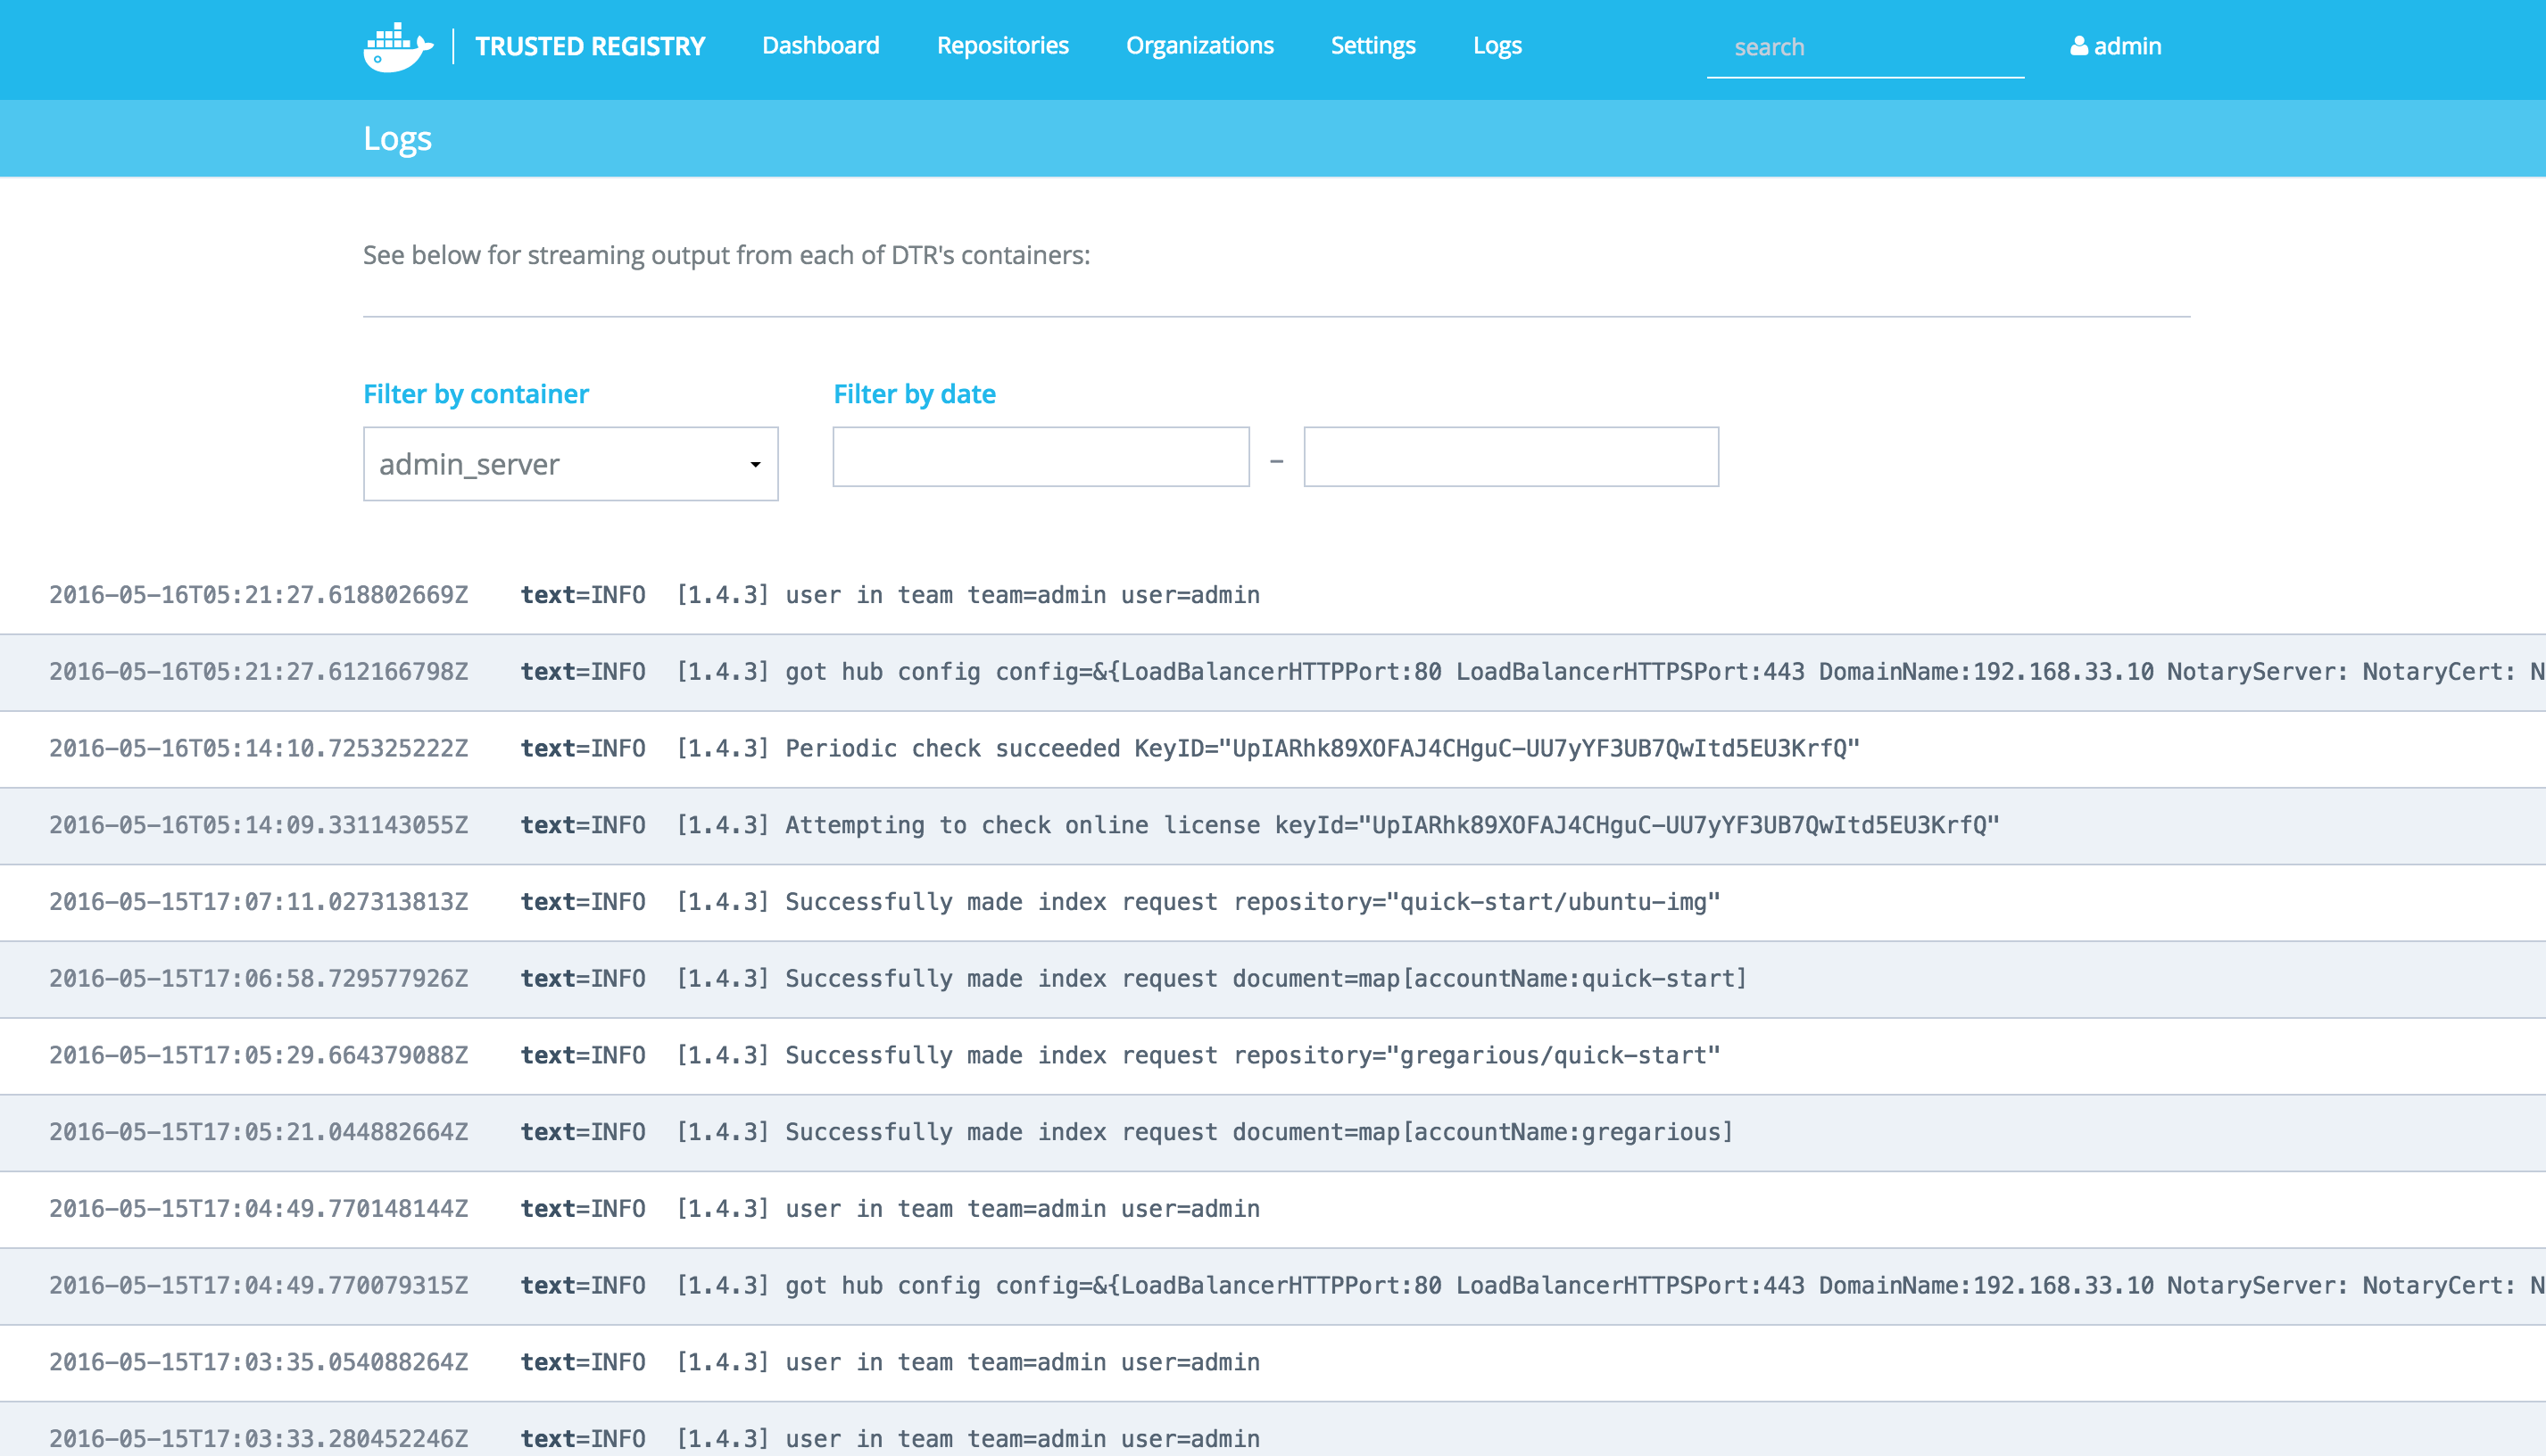
There is an overview of your registry resources consumption or problems from the DTR overview and logs sections:
Conclusion
The Docker Trusted Registry is a simple tool for anyone looking for more control and security over their Docker images. The initial setup and configuration is a little confusing (and different documents list different steps), but once you’re ready to go, building, pushing, and pulling images is a simple process.
If you want to skip these confusing setup steps, several cloud providers offer DTR as a hosted service, including AWS and Azure.
| Reference: | An Introduction to the Docker Trusted Registry from our WCG partner Chris Ward at the Codeship Blog blog. |

