Setting Up AWS Authentication Before Deploying Docker Apps
Amazon Web Services (AWS) is one of the most ubiquitous cloud computing providers available today, delivering a seemingly endless suite of tools for cloud computing and development.
From servers to storage and databases to deployment, if you need it, AWS probably has it. While it is used by companies like Netflix, Slack, and Pinterest to run their services, store data, and develop and deploy new site features, the full scope of AWS’s entire product set can be overwhelming at best.
Despite AWS’s seemingly endless supply of products, there are really only a handful that are dedicated to delivering and serving application code. These are the Amazon EC2 Container Service, AWS Elastic Beanstalk, and AWS CodeDeploy. Each of these services can be deployed using Codeship.
Before you can get started with AWS deployments, you must first add your AWS access keys to your project repository in order for Codeship to be able to access your AWS account. Because these access keys are secret (and therefore a horrible idea to commit to version control in plain text), Codeship’s CLI tool offers functionality for encrypting them.
Codeship’s existing tutorial is far more thorough than this article warrants, but if you want to skip the link, here are the abridged steps:
1 – Find Your AES Key
Sign into your codeship.com account, go to the General page of your Codeship project’s settings, scroll down to the AES Key section, and copy the key:
2 – Save the Key
Paste the key into a file called codeship.aes in your project’s root folder, and add the filename to your .gitignore file.
3 – Encrypt AWS Credentials
Add your AWS credentials to a file called aws.env, encrypt said file, and then add the unencrypted credentials to your .gitignore file.
If you’re not sure where to find your AWS credentials, you can generate a new set of “Access Keys” in the IAM Management Console.
It’s important to note that you can only have two active pairs of root keys at any given time, and once you generate them, you will not be able to retrieve the secret key again, so it is recommended to take advantage of multiple users and managed policies.
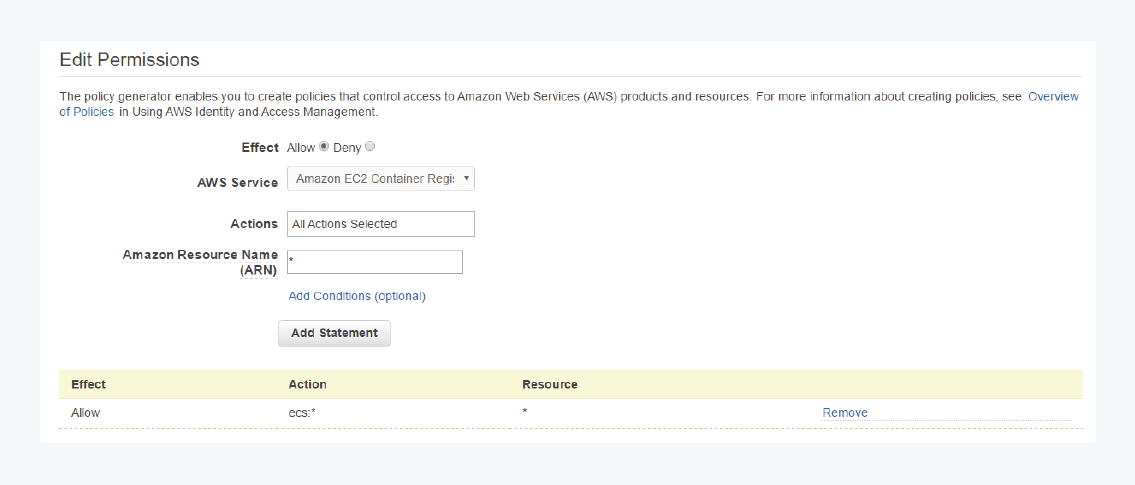
While the permissions you enable for an IAM policy will vary depending on your use case, the Policy Generator is an excellent tool for clearly defining which services and actions to allow or deny within a policy.
Now, all that is necessary to enable authenticated AWS commands is to add the encrypted_env_file directive to any Codeship service that needs it:
This line essentially tells Codeship to decrypt the specified file using your account’s AES key and add the contents to the Docker container’s environment variables.
As explained by Amazon’s documentation, the AWS CLI looks for credentials directly in the environment variables, which means that all you need to do is install the AWS CLI tools to a configured Docker container, and you are good to go (while we will be using a pre-built Docker container provided by Codeship to accomplish this, you can find the steps to accomplish this manually here).
This has been Part One of a series about how to set up continuous deployment to AWS for your Docker apps using Codeship. Can’t wait for Parts Two and Three? Download our free ebook, Deploying Docker Apps to AWS.
| Reference: | Setting Up AWS Authentication Before Deploying Docker Apps from our WCG partner Zachary Flower at the Codeship Blog blog. |


