Javascript Onclick Example
The aim of this example is to show you how to handle the onclick event.
A JavaScript can be executed when an event occurs, like when a user clicks on an HTML element. To execute code when a user clicks on an element, we can add JavaScript code to an HTML onclick event attribute .
The onclick event fires on a mouse click on the element.
This attribute’s value is the script to be run .
It’s syntax is like <element onclick="script"> . All the HTML tags support this attribute, EXCEPT: <base>, <bdo>, <br>, <head>, <html>, <iframe>, <meta>, <param>, <script>, <style>, and <title> .
1. HTML
First of all you need to create two simple html documents.
onclickExample.html
<!DOCTYPE html>
<html>
<head>
	<title>jQuery Onclick Example</title>
</head>
<body>

</body>
</html>
2. Javascript Onclick Examples
2.1 Onclick Hello World
Let’s add the following simple html code.
    <form>
	<input type="button" onclick="sayHello()" value="Say Hello" />
    </form>
As you can notice, in this simple example we give sayHello() method to the onclick attribute. When user click the button onclick will fire and call this method. The sayHello() method’s content is very simple where shows an alter to demonstrate onclick event had been fired.
<script type="text/javascript">
	function sayHello() {
	   alert("Hello World");
	}
</script>
The result in the browser would be: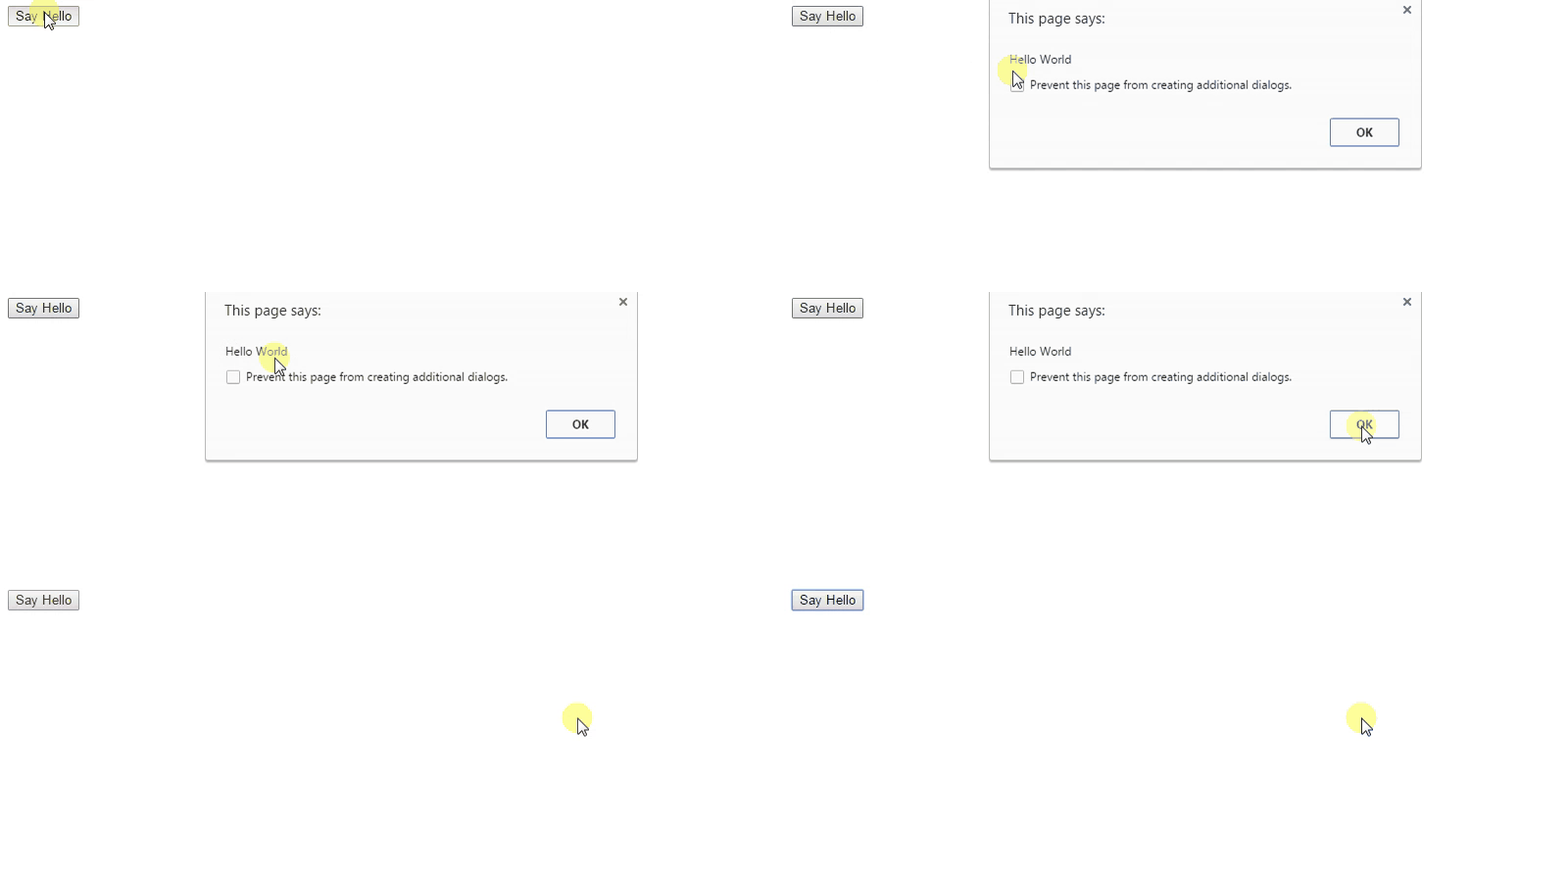
2.2 Change background color by the onclick event
In this example, the onclick attribute’s value is a javascript. The given javascript changes document background color by changing document.bgColor attribute value. Inserting script code inside onclick attribute isn’t recommended, put your script in a method and call it inside onclick attribute.
<form>
	<input type="radio" name="Color" onclick="document.bgColor='#E27A7A'" /> Color 1<br/>
	<input type="radio" name="Color" onclick="document.bgColor='#657ACA'" /> Color 2<br/>
	<input type="radio" name="Color" onclick="document.bgColor='#60CA94'" /> Color 3<br/>
</form>
The result in the browser would be: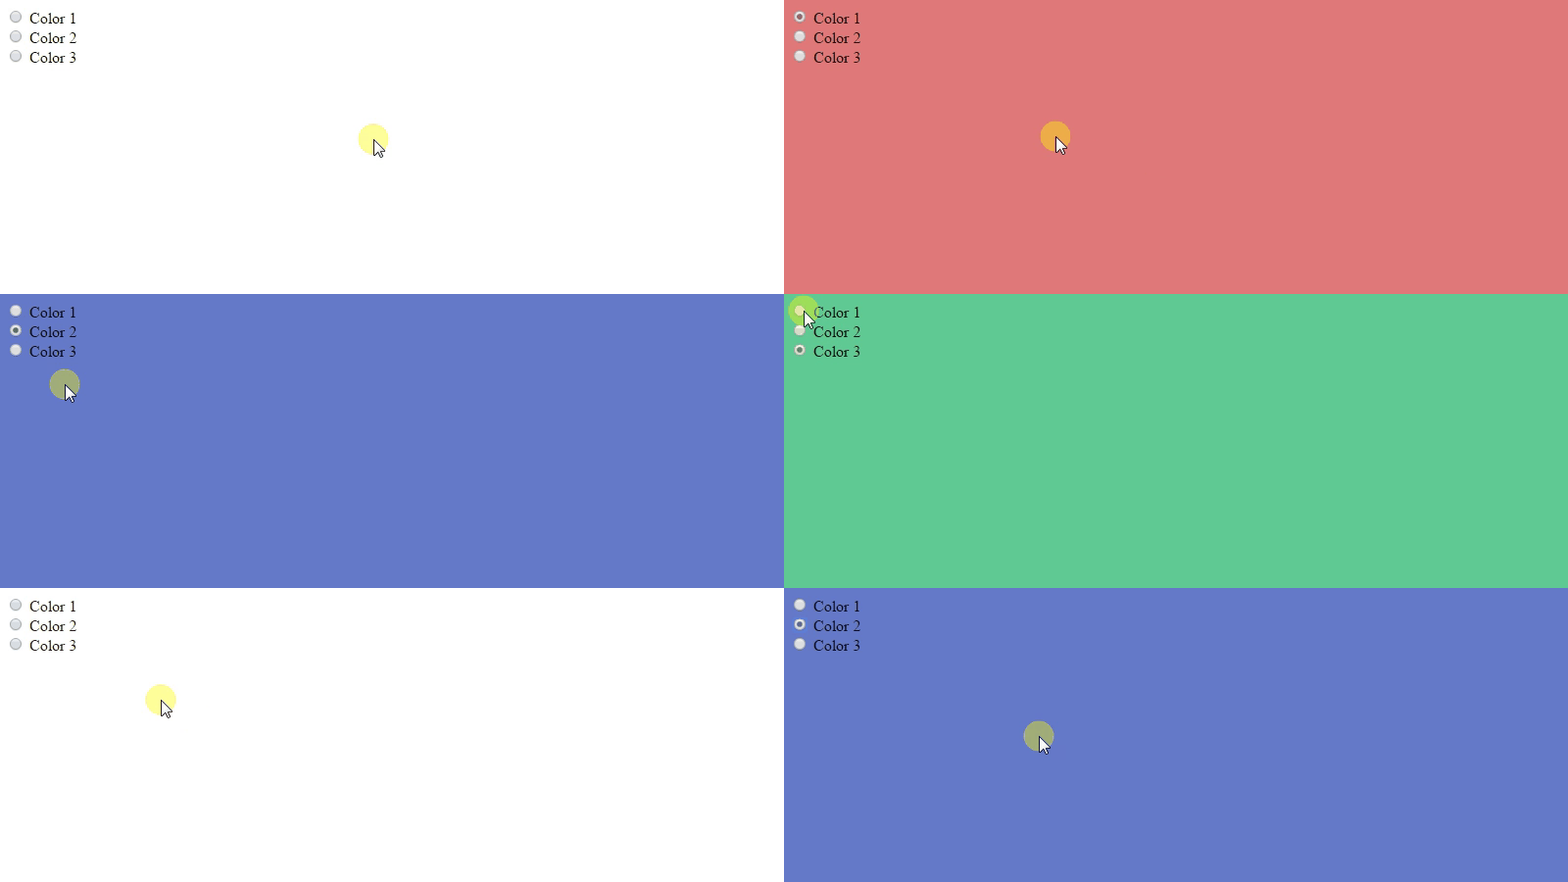
2.3 Attach the onclick event by using the addEventListener() method
Let’s add the following simple html code.
<h1 id="title">Javascript onclick example 3 </h1>
<input type="text" id="myTextField"/>
<input type="submit" id="byBtn" value="Change" />
The javascript addEventListener() method is used to attach an event to the HTML elements. The addEventListener() method takes two arguments, the first is the event name and the second is a function’s name that we want to be called. In the following example, the line 3 attach the onclick event to the byBtn button.
<script type="text/javascript">
	var byBtn = document.getElementById('byBtn');
	byBtn.addEventListener ("click",change);

	function change(){
	   var myNewTitle = document.getElementById('myTextField').value;
	   if( myNewTitle.length==0 ){
		   alert('Write Some real Text please.');
		   return;
	   }
	   var title = document.getElementById('title');
	   title.innerHTML = myNewTitle;
	}
</script>
The result in the browser would be: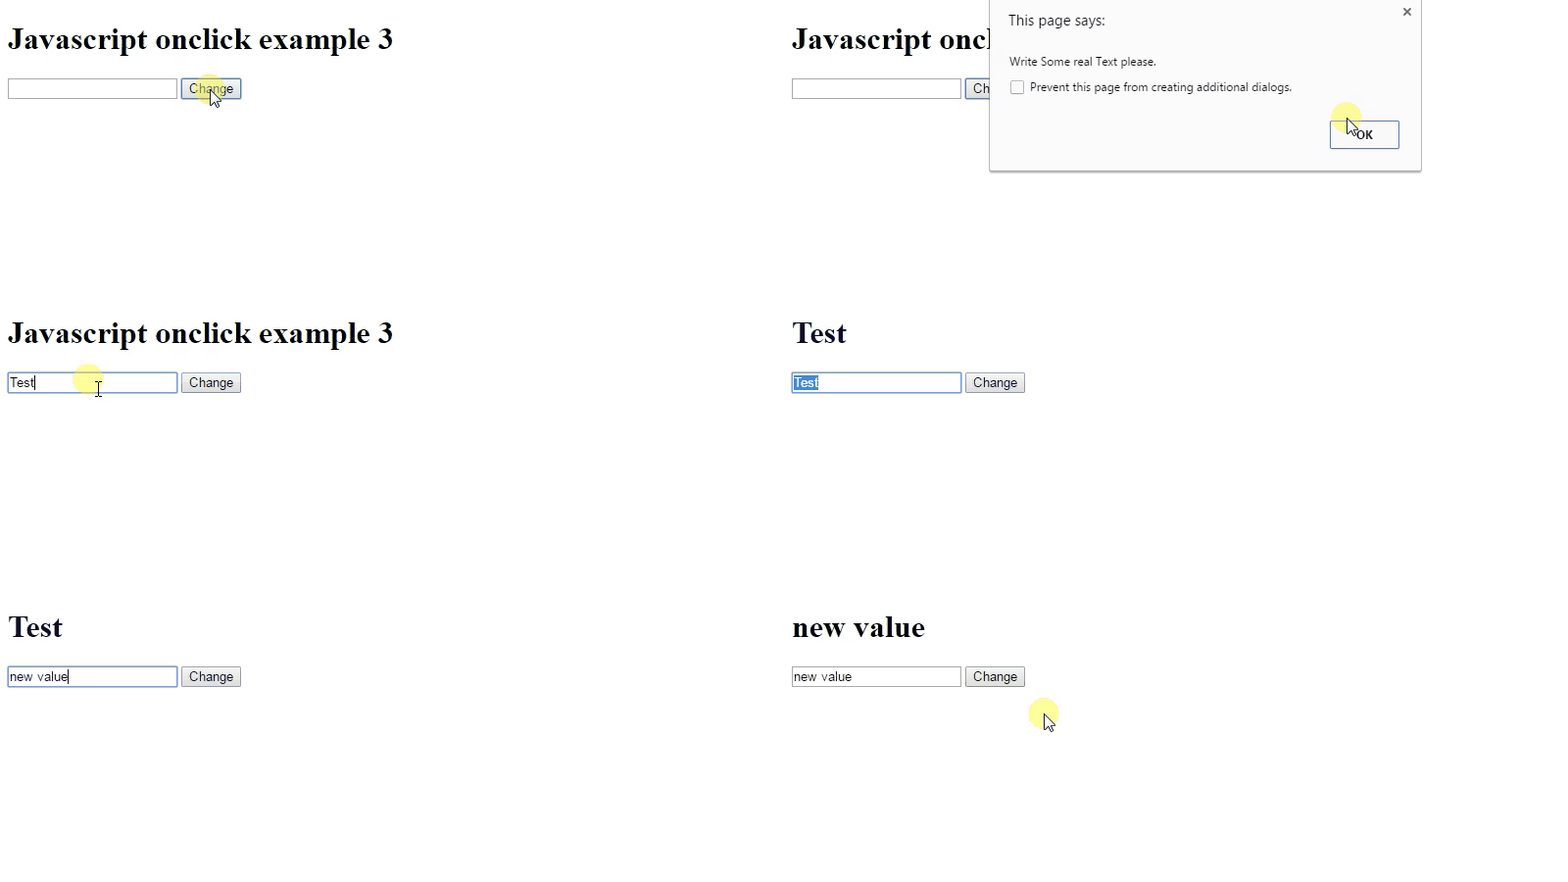
2.4 The Div onclick event handling
Let’s add the following simple html code.
<h1>
   <div id="demo" style="border:1px solid #f00;padding:10px;width:750px">Click me.</div>
</h1>
Setting of an anonymous function to the HTML elemnt’s onclick attribute will fire the given function on click this element. In the following example, we set an anonymous method to the DIV element and this is enough to bind a handler to the DIV element’s onclick event.
<script type="text/javascript">
	document.getElementById("demo").onclick = function() {myFunction()};

	function myFunction() {
		document.getElementById("demo").innerHTML = "YOU CLICKED ME!";
	}
</script>
The result in the browser would be: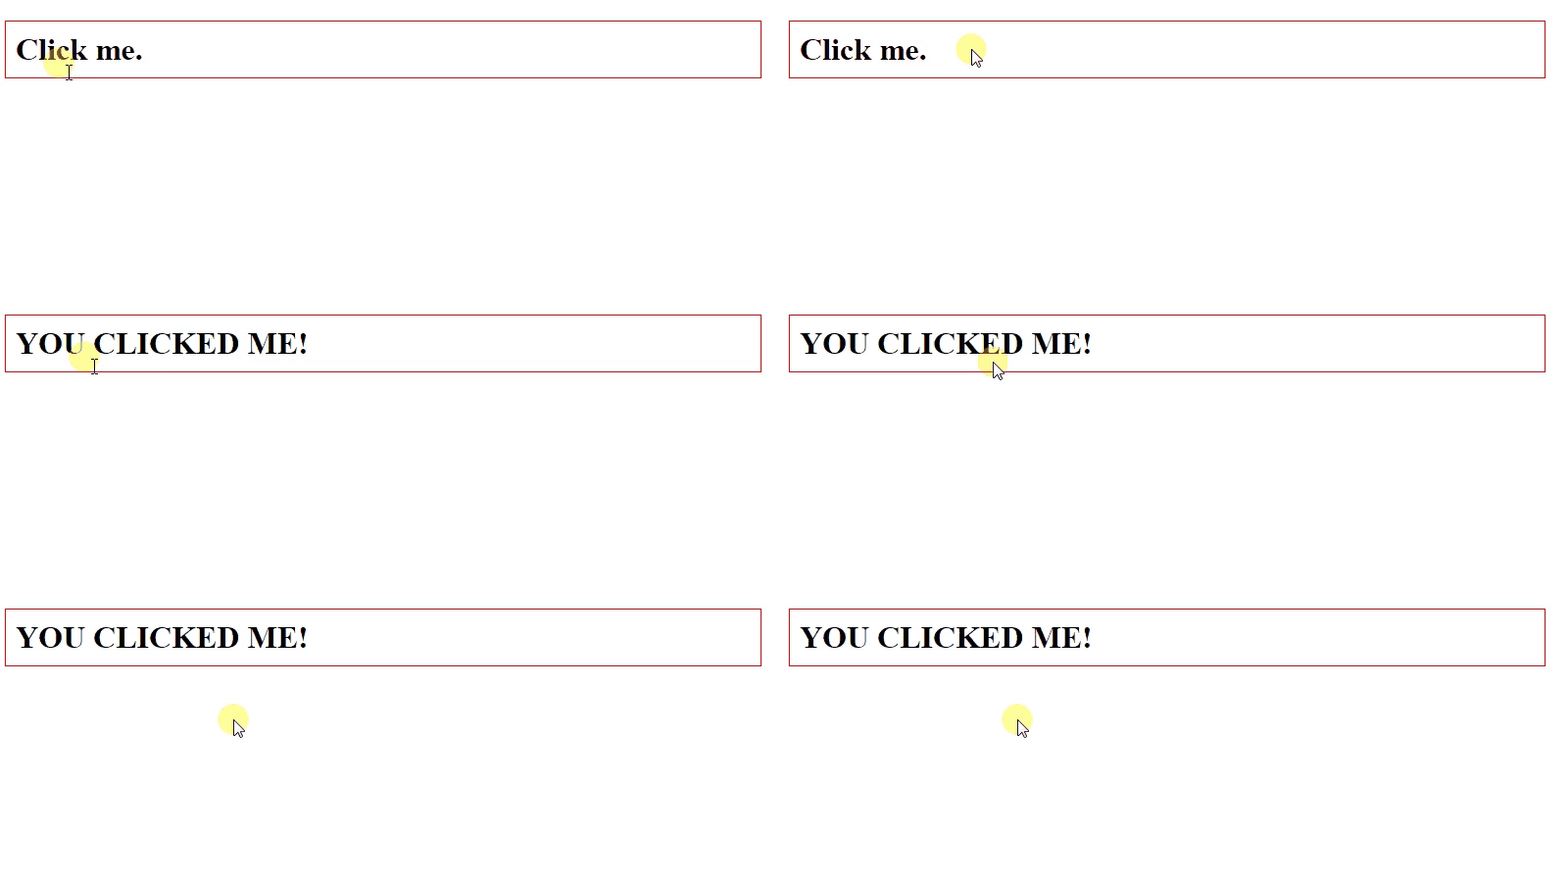
2.5 Access “this” object inside onclick method
Let’s add the following simple html code.
Toggle the checked state of the following checked box:<br /><br />
<input type="checkbox" onclick="OnChangeCheckbox(this)" id="myCheckbox" />
<label for="myCheckbox">Sample check box</label>
This example shows how to detect when the checked state of an input checkbox element is changed.
As you can notice, the “this” object can be passed to the onclick handler method as OnChangeCheckbox(this).
Inside an event handler, this references the current element. It can be used to get properties on modify the element.
We can use the passed element directly in the handler method as line 2 of the following javascript code.
<script type="text/javascript">
	function OnChangeCheckbox (checkbox) {
		if (checkbox.checked) {
			alert ("The check box is checked.");
		}
		else {
			alert ("The check box is not checked.");
		}
	}
</script>
The result in the browser would be: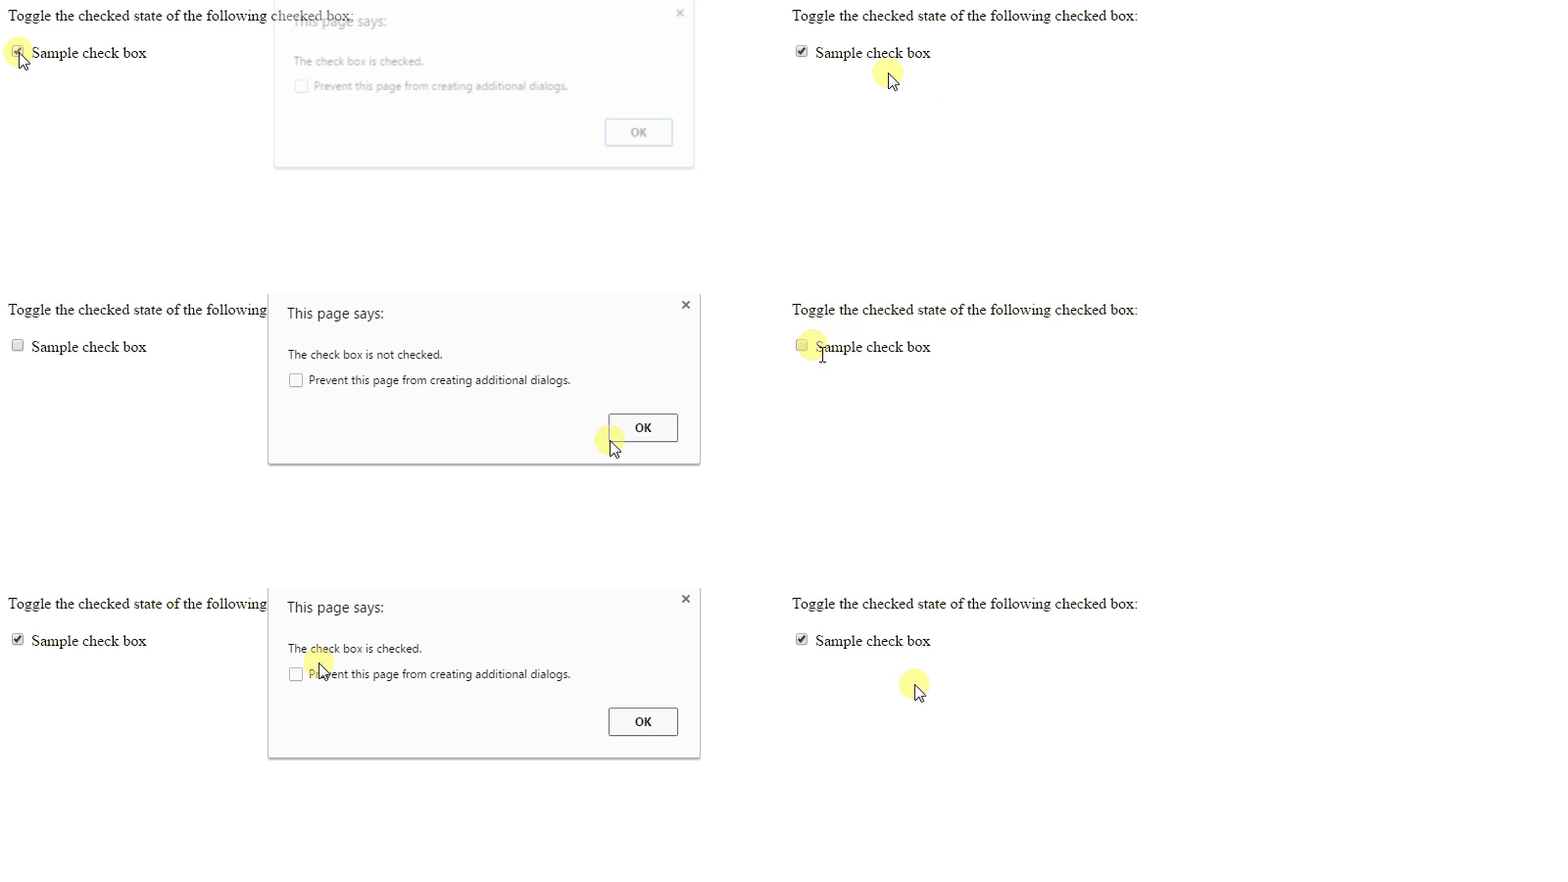
2.6 Javascript get x and y coordinates on mouse click
Let’s add the following simple html code.
<img src="circle.png" id="circleImage" style="position:absolute;left:20px;right:20px;" width="50" height="50"/>
Handling mouse click event in the onclick event handler method is very simple. The event object can be used to get the mouse coordinates on mouse click.
The following example demonstrates how to deal with event object.
<script type="text/javascript">
        function printMousePos(event) {
	    var x = event.clientX ;
	    var y = event.clientY;
	    var circleImage = document.getElementById("circleImage");
	    circleImage.style.position="absolute";
	    circleImage.style.left=x+"px";
 	    circleImage.style.top=y+"px";
	}

	document.addEventListener("click", printMousePos);
</script>
The result in the browser would be:
3.Conclusion
A JavaScript can be executed when an event occurs, like when a user clicks on an HTML element. To execute code when a user clicks on an element, we can add JavaScript code to an HTML onclick event attribute. The onclick event is the most frequently used event type. You can put your validation, warning etc., against this event type. It’s syntax is like <element onclick="script"> . The javascript addEventListener() method is used to attach an event to the HTML elements too. Setting of an anonymous function to the HTML elemnt’s onclick attribute will attach an onclick event to this element.


