jQuery Drag and Drop Example
The aim of this example is to explain and use drag and drop functionality with jQuery. Basically, in jQuery you can enable draggable functionality on any DOM element and move the draggable object by clicking on it with the mouse and dragging it anywhere within the viewport. Dragging and dropping can be a very intuitive way for users to interact with your site or web app. People often use drag-and-drop for things like:
• Moving email messages into folders
• Reordering lists of items
• Moving objects in games around, such as cards and puzzle pieces
1. Basic Setup & Application
To begin, create and new HTML document and add the following basic syntax inside:
<!DOCTYPE html>
<html>
<head>
    <meta charset="utf-8">
	<title>jQuery Drag & Drop Example</title>

    <!-- LINKS SECTION  -->
    <link rel="stylesheet" href="jquery-ui.css">
    <script src="jquery-1.11.3.min.js"></script>
    <script src="jquery-ui.js"></script>
    <link rel="stylesheet" href="style.css">
</head>
<body>

<!-- STYLE SECTION -->
<style type="text/css">

</style>

<!-- HTML SECTION  -->

<!-- JAVASCRIPT SECTION  -->

</script>

</body>
</html>
Don’t worry about the link files, you’ll find them attached in your final source download at the end of the article.
Now let’s see a basic drag and drop example. First, create a new element in the HTML section and give it a class name.
<!-- HTML SECTION  -->
<div class="dragme">Drag me!</div>
Next, to make it more clear, give this element some styling:
<!-- STYLE SECTION -->
<style type="text/css">
.dragme {
        border-radius: 0.5em;
        width: 12em;
        height: 8em;
        padding: 1em;
        font-family: "Montserrat", "Arial";
        background-color: #00C5CD;
        color: white;
    }
</style>
Next, in your Javascript section, create a new function which finds the .dragme class and applies the .draggable() method to this class:
<!-- JAVASCRIPT SECTION  -->
<script type="text/javascript">
  $(function() {
    $('.dragme').draggable();
  });
</script>
The result would be a draggable element like this:
2. Customized Draggable Elements
In this section, we’ll have a look at how much we can customize draggable elements to fit our needs.
2.1 Constraining Movement
Constrain the movement of each draggable by defining the boundaries of the draggable area. Set the axis option to limit the draggable’s path to the x- or y-axis, or use the containment option to specify a parent DOM element or a jQuery selector, like ‘document.’ Let’s first use the containment to limit the area to a parent div:
<!-- HTML SECTION  -->
<div class="drag-parent">
    <div class="dragme">Drag me!</div>
</div>
Let’s give the parent div a little styling:
<!-- STYLE SECTION -->
<style type="text/css">
.drag-parent {
    border: 0.1em solid #BA064E;
    width: 45em;
    height: 20em;
}
</style>
And now, let’s add the containment option to the draggable() method:
<!-- JAVASCRIPT SECTION  -->
<script type="text/javascript">
  $(function() {
    $('.dragme').draggable({ containment: ".drag-parent" });
  });
</script>
This would result in a limited draggable area: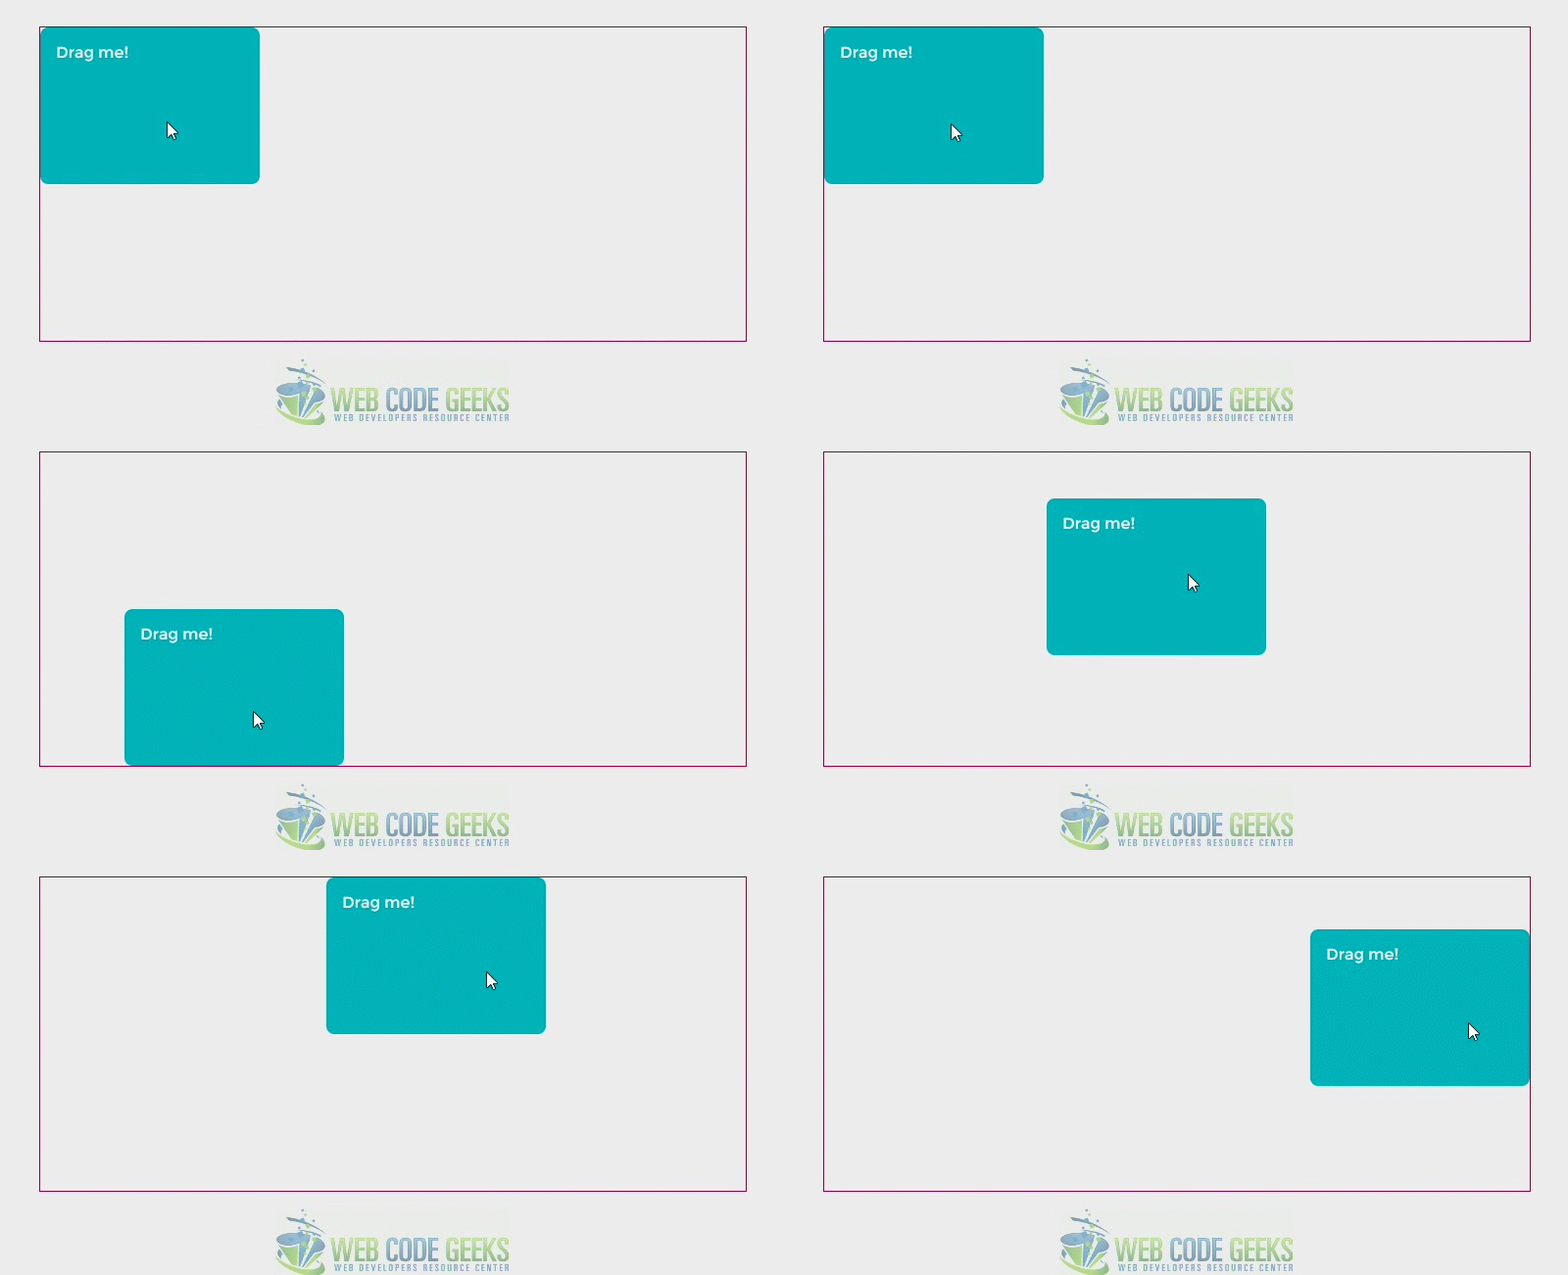
Now let’s constrain draggable area by axis, x or y. To do this, add the axis option to the .draggable() method and give it a value of 'x' or 'y' depending on what you are looking for.
<!-- HTML SECTION  -->
    <div class="dragme dragme-x">Drag me by x!</div>
    <div class="dragme dragme-y">Drag me by y!</div>
<!-- JAVASCRIPT SECTION  -->
<script type="text/javascript">
  $(function() {
    $('.dragme-x').draggable({ axis: "x" });
    $('.dragme-y').draggable({ axis: "y" });
  });
</script>

2.2 Cursor Styles over Draggable Element
Position the cursor while dragging the object. By default the cursor appears in the center of the dragged object; use the cursorAt option to specify another location relative to the draggable (specify a pixel value from the top, right, bottom, and/or left). Customize the cursor’s appearance by supplying the cursor option with a valid CSS cursor value: default, move, pointer, crosshair, etc.
<!-- HTML SECTION  -->
    <div class="dragme dragme-x dragme-crosshair">Drag me by x!</div>
    <div class="dragme dragme-y dragme-move">Drag me by y!</div>
<!-- JAVASCRIPT SECTION  -->
<script type="text/javascript">
$(function() {
$('.dragme-crosshair').draggable({ cursor: "crosshair", cursorAt: { top: 80, left: 120 } });
$('.dragme-move').draggable({ cursor: "move", cursorAt: { top: 90, left: 100 } });
});
</script>
The result would be a customized cursor while dragging our element:
2.3 Revert Draggable Element Position
You can actually return the draggable (or it’s helper) to its original location when dragging stops with the boolean revert option.
<!-- JAVASCRIPT SECTION  -->
<script type="text/javascript">
  $(function() {
    $( '.dragme' ).draggable({ revert: true });
  });
</script>

Another useful option here would be helper with the value clone. That would create a clone of the element while dragging and still show the original element right in its inital position:
  $(function() {
    $( '.dragme' ).draggable({ revert: true, helper: "clone" });
  });

2.4 Snap to Element or Grid
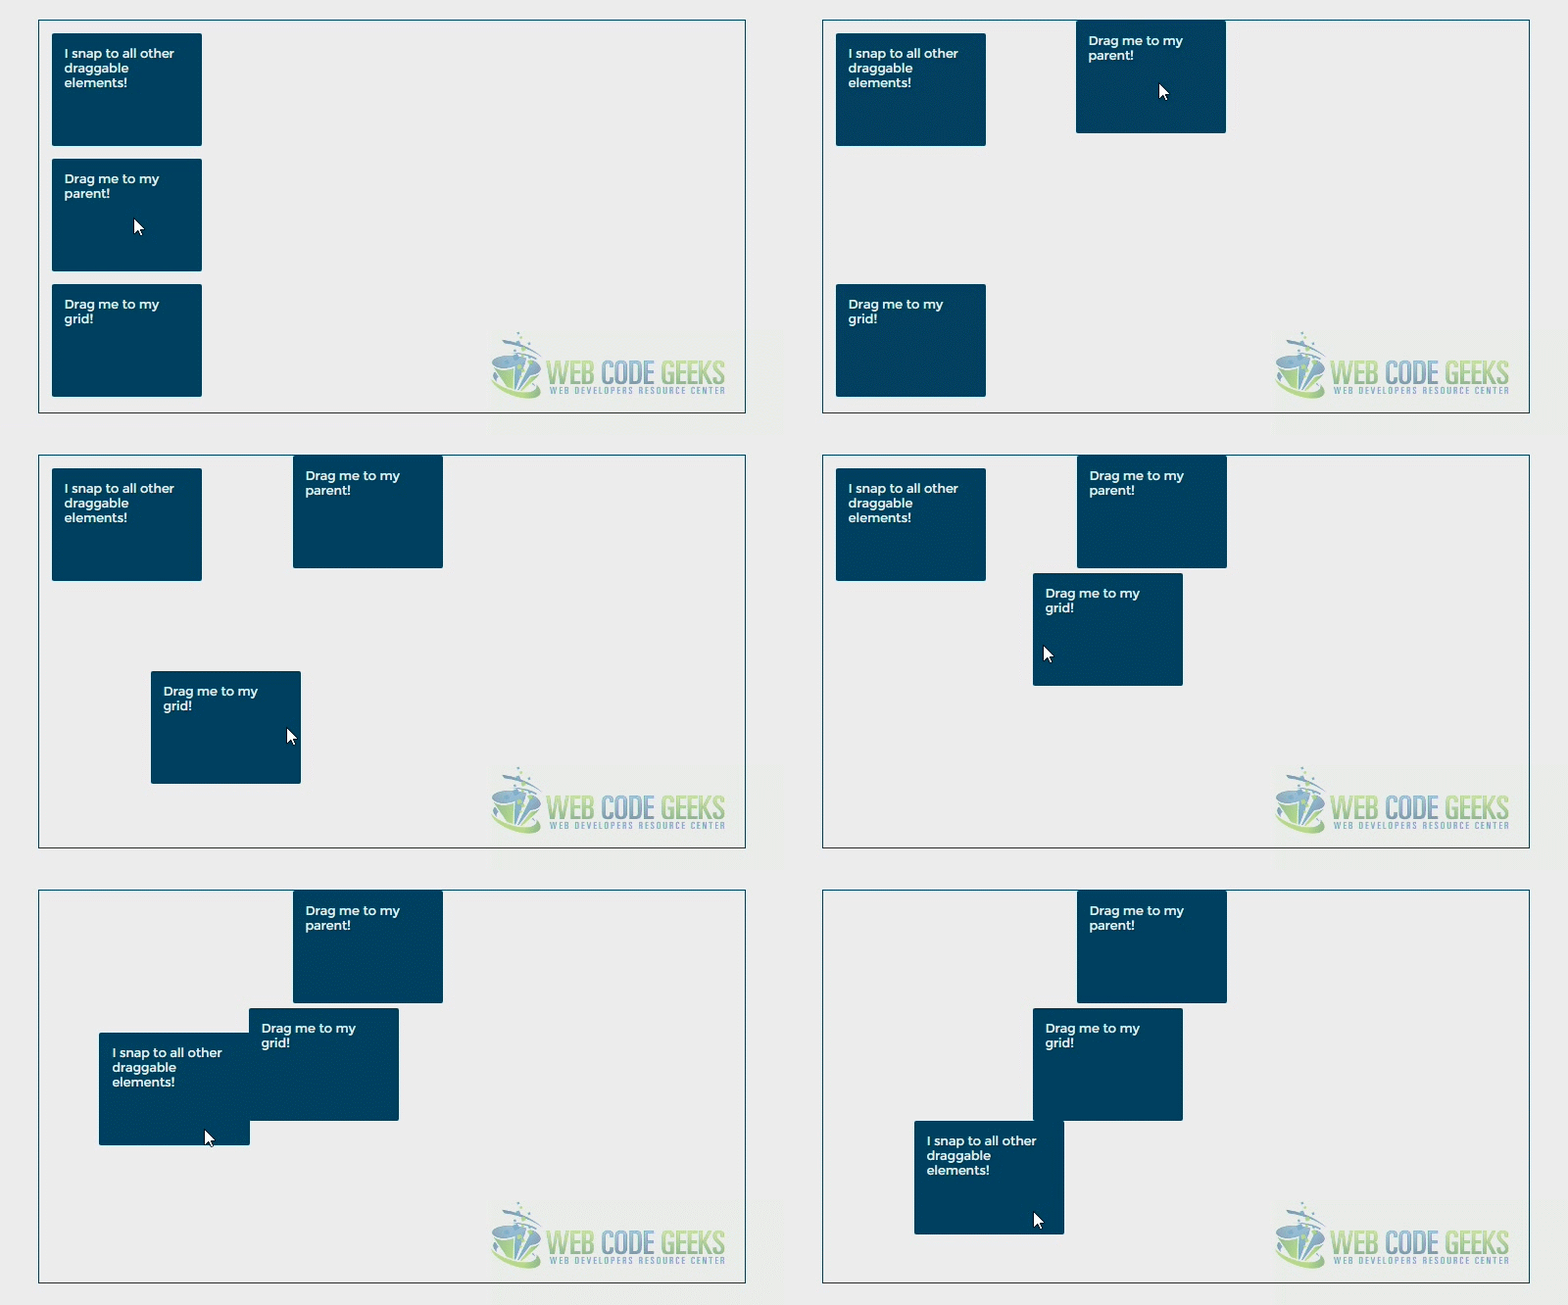
Snap the draggable to the inner or outer boundaries of a DOM element. Use the snap or snapMode (inner, outer, both).
Or snap the draggable to a grid. Set the dimensions of grid cells (height and width in pixels) with the grid option.
<!-- HTML SECTION  -->
<div class="drag-parent">
    <div class="dragme dragme-normal">I snap to all other draggable elements!</div>
    <div class="dragme dragme-x dragme-crosshair dragme-parent">Drag me to my parent!</div>
    <div class="dragme dragme-y dragme-move dragme-grid">Drag me to my grid!</div>
</div>
<!-- JAVASCRIPT SECTION  -->
<script type="text/javascript">
  $(function() {
    $('.dragme-normal').draggable({ snap: true });
    $('.dragme-parent').draggable({ snap: '.drag-parent' });
    $('.dragme-grid').draggable({ grid: [ 50, 50 ] });
  });
</script>
3. An Advanced Approach
In a more professional and complete demo that you can find here, you can make this ultimate by adding or removing congtent (classes) on mouseover and mouseleave to complete the whole user experience for the modern web. The demo includes your source code for this: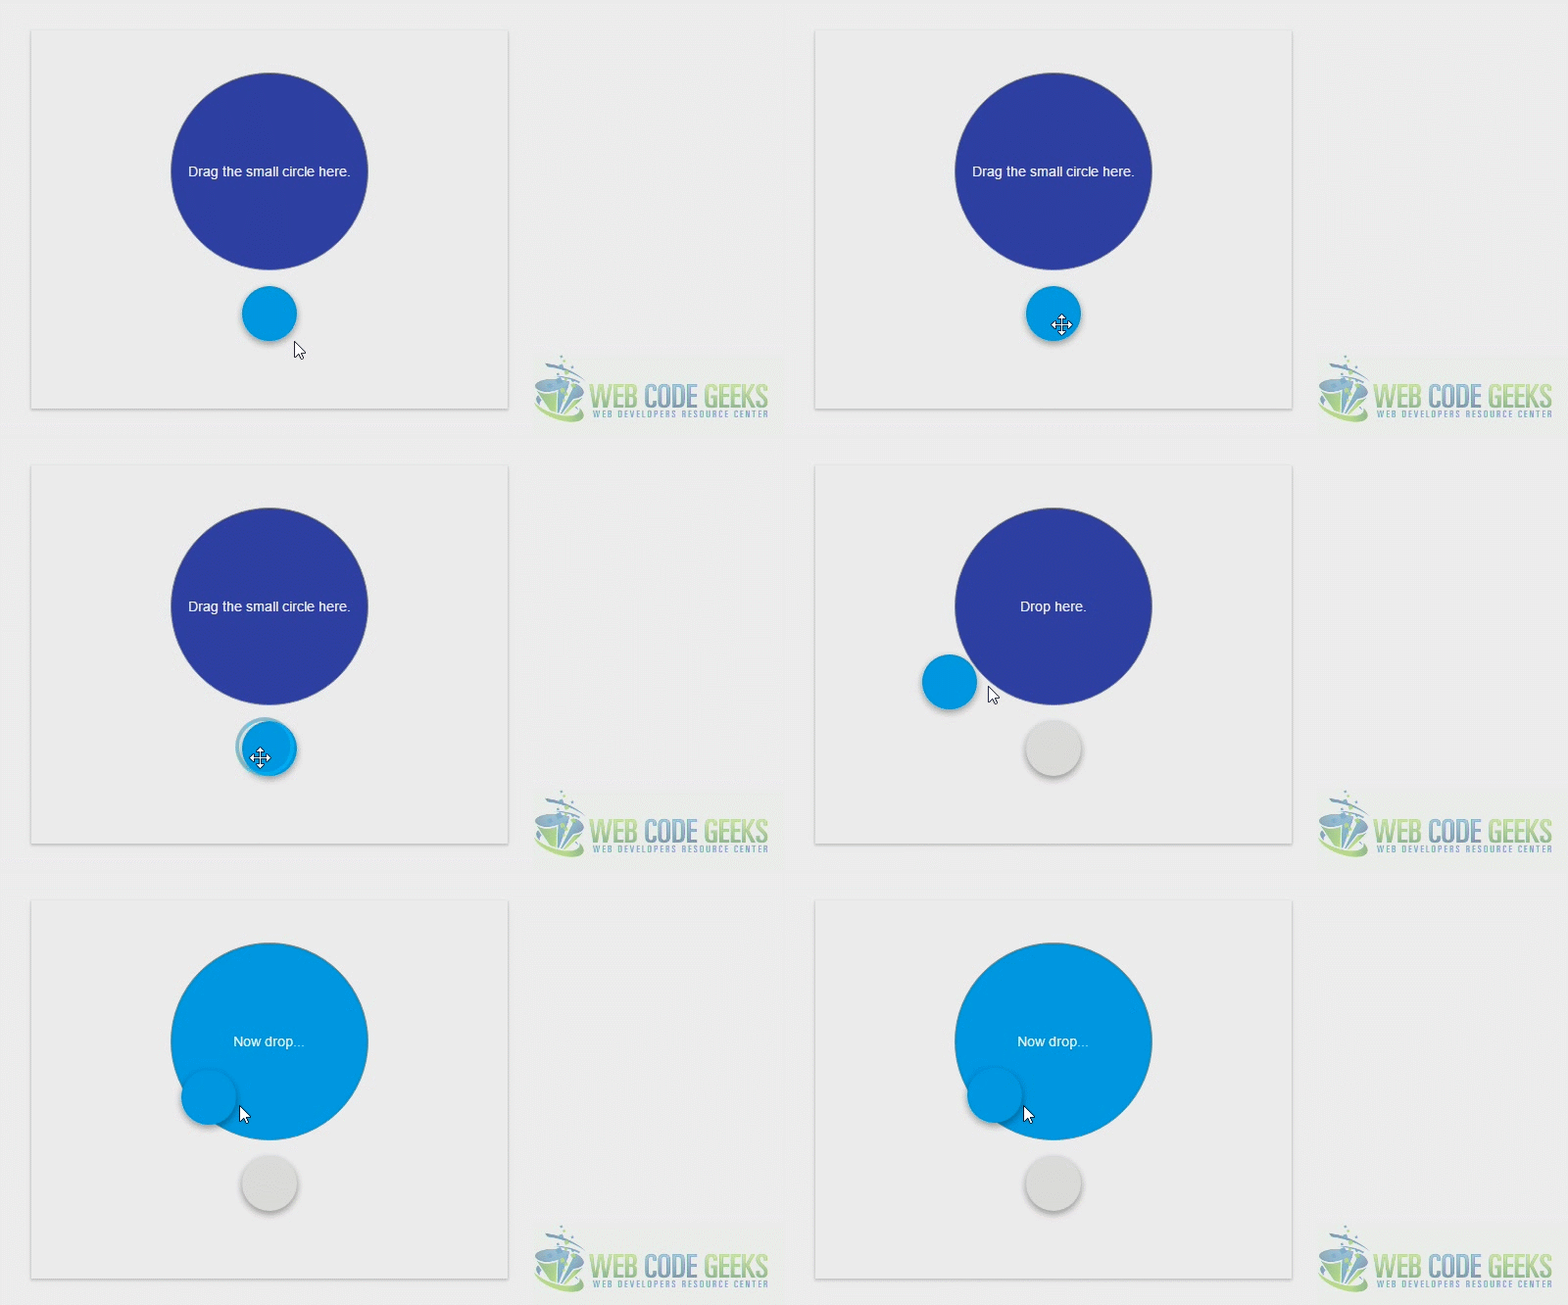
4. Conclusion
Drag-and-drop with JavaScript used to be very hard to do — in fact, getting a decent cross-browser version working was next to impossible. However, with modern browsers and a smattering of jQuery, drag-and-drop is now a piece of cake! Dragging has a lot to customize and improve to make your UX perfect. Try out and see how you can get creative and productive!
5. Download
You can download the full source code of this example here: jQuery Drag & Drop


