Introduction
Coolify is an open-source platform that simplifies application deployment and management. It supports multiple programming languages, integrates with Git for CI/CD, and provides database management. As a self-hosted alternative to cloud services, Coolify offers control over your infrastructure, making it ideal for developers and teams seeking simplicity and flexibility.
This article will guide you to deploying a Coolify Vultr Marketplace Application, setting up a React Application, and later deploying the React application on Coolify with a custom domain.
Deploying Vultr Optimized Cloud Instance
- Sign up and log in to the Vultr Customer Portal.
- Navigate to the Products page.
- From the side menu, select Compute.
- Click the Deploy Server button in the center.
- Choose Optimized Cloud Compute as the server type.
- Choose a server Location.
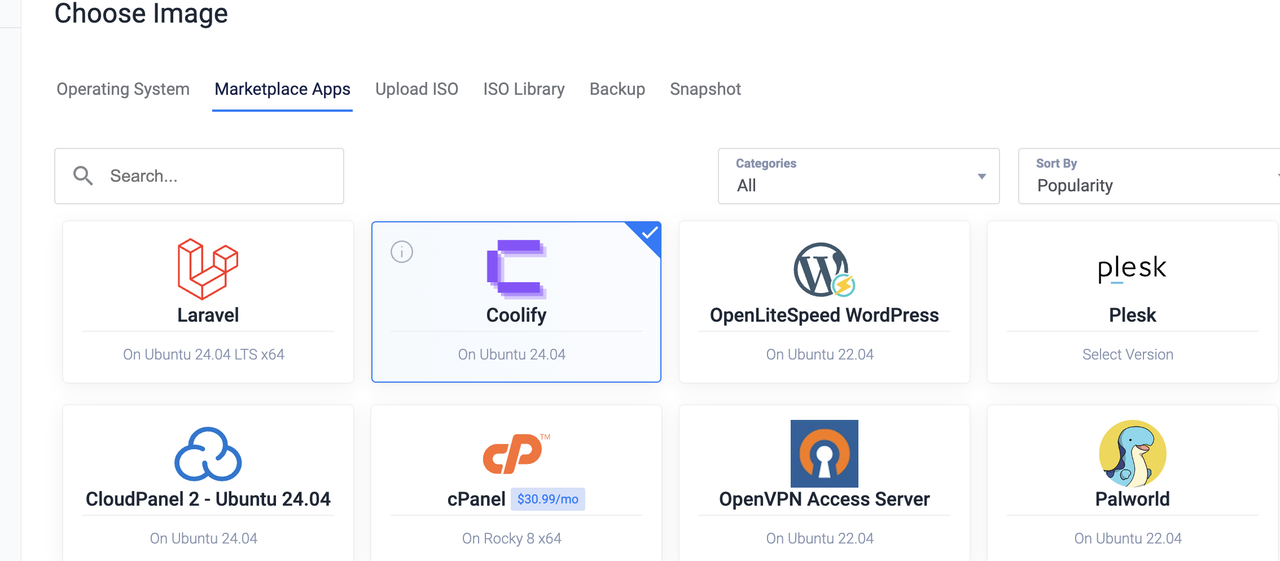
- Choose Coolify as the Marketplace Application.

- Choose a suitable plan.
- Choose any Additional Features if required.
- Click Deploy Now.
Setting up a React Application
- Create a new React application.
$ npx create-react-app my-react-app - Navigate to the project directory.
$ cd my-react-app - Create a Git repository.
$ git init && git add . && git commit -m "Initial Commit" - Create a repository, and name it “my-react-app”.
- Push the code to the repository.
$ git remote add origin https://github.com/your-username/my-react-app.git && git branch -M main && git push -u origin main
Hosting React Application on Coolify
- Access the Coolify dashboard at http://<server-ip>:8000
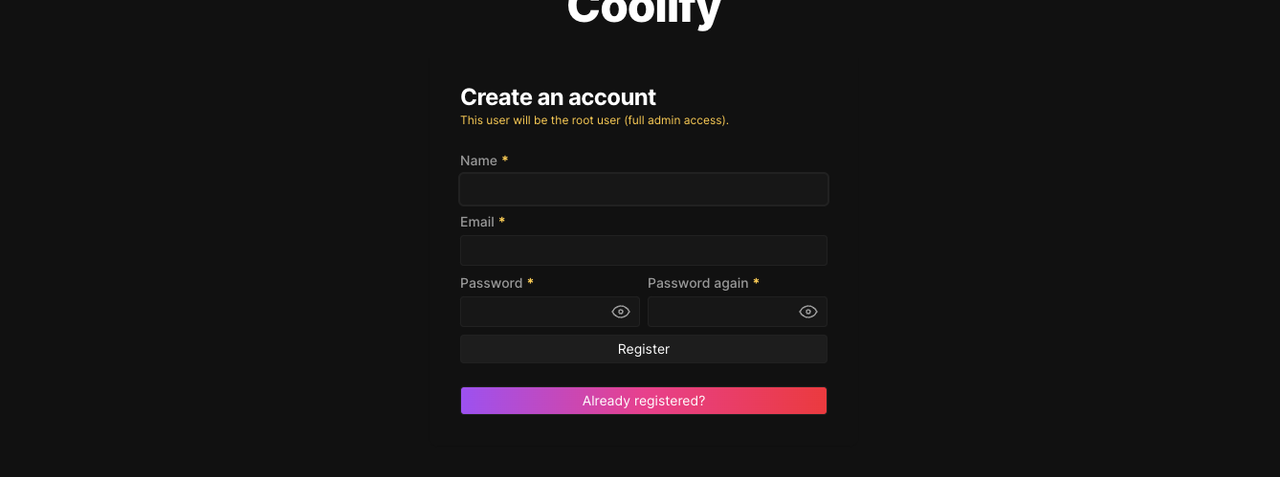
- Create an account on Coolify.

- Choose LocalHost as the server option.

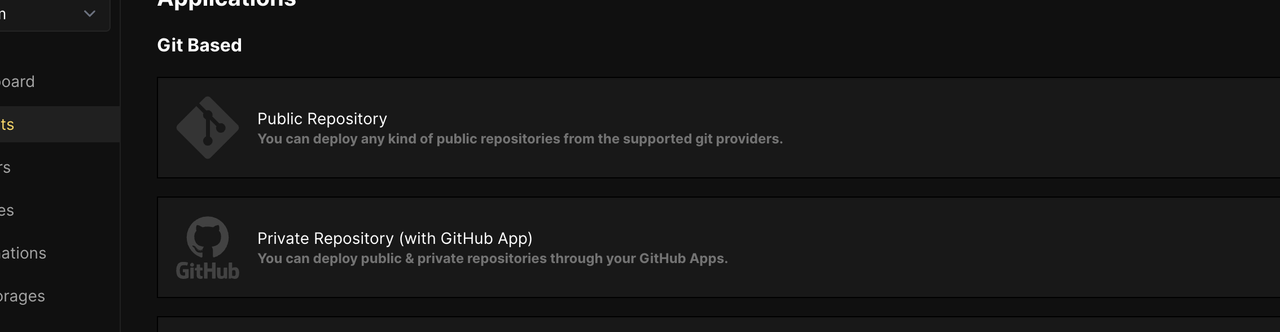
- Click Public Repository.
- Provide the repository URL.
- Click Continue.
- Provide your custom domain. Make sure your domain points to your Vultr Server IP and nameservers are properly configured with your provider.

- Provide a Build Command and Publish Directory.

- Scroll down and click Reset to Coolify Generated Labels.
- Click Save.
- Click Servers in the leftmost menu.
- Click LocalHost.
- Add your domain URL in Wildcard Domain field.
- Click Save.
- Move back to the project screen and click Deploy.
- After the deployment is finished you can access your react app at https://<server-ip>.


Use Cases for Coolify
- Developers: For developers looking to deploy and manage applications without relying on third-party cloud platforms, Coolify offers a powerful and flexible solution.
- Small Teams: Ideal for small teams who want to collaborate on projects with a streamlined deployment process.
- Self-Hosting Enthusiasts: For those who prefer to keep their applications and data under their control, Coolify provides a self-hosted alternative to cloud services.
Do more with Vultr Marketplace Applications
- Use Vultr’s InvokeAI Marketplace Application to Generate Images.
- Use Vultr’s GPU Stack Marketplace Application.
- Build Secure Web Applications with the ASP.NET Marketplace App.
Conclusion
By performing the steps in this article, you were able to deploy Coolify Vultr Marketplace Application, create and set up a new React application and deploy it on Coolify with a custom domain.
This is a sponsored article by Vultr. Vultr is the world’s largest privately-held cloud computing platform. A favorite with developers, Vultr has served over 1.5 million customers across 185 countries with flexible, scalable, global Cloud Compute, Cloud GPU, Bare Metal, and Cloud Storage solutions. Learn more about Vultr